As an Amazon Associate, we earn from qualifying purchases. Some links on this site are affiliate links at no extra cost to you. Our recommendations are based on thorough research and editorial judgment.
Nailing Into Walls Without a Drill
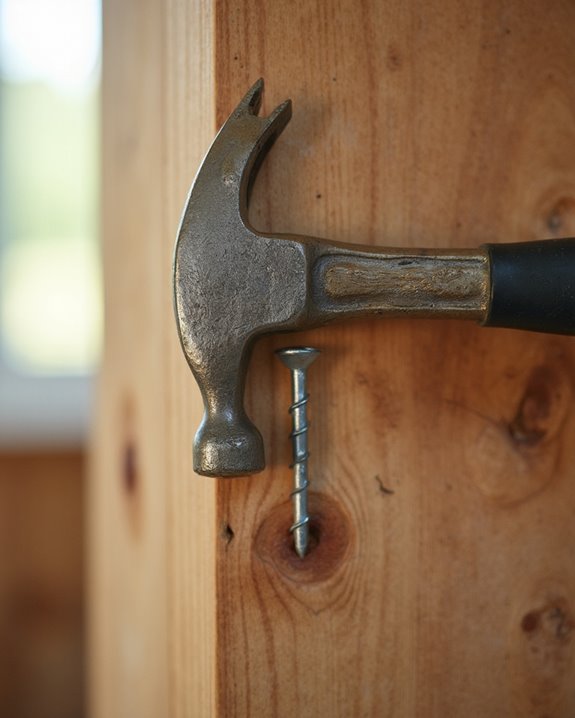
You can nail into walls without a drill by using the right tools and techniques for safe, effective results. Start with masonry nails for hard surfaces like plaster or brick, a well-maintained hammer for controlled strikes, and long nose pliers to hold nails steady. Mark your spot precisely, tap gently to embed the nail, and aim horizontally for stability, especially on grainy plaster or brick centers. Explore further for detailed strategies and damage prevention tips.
Key Takeaways
- Mark the exact spot on the wall for precise nail placement.
- Use long nose pliers to hold the nail steady while hammering.
- Tap gently with a hammer to start embedding the nail.
- Position the nail horizontally for better stability and control.
- Use masonry nails for hard surfaces like plaster or brick.
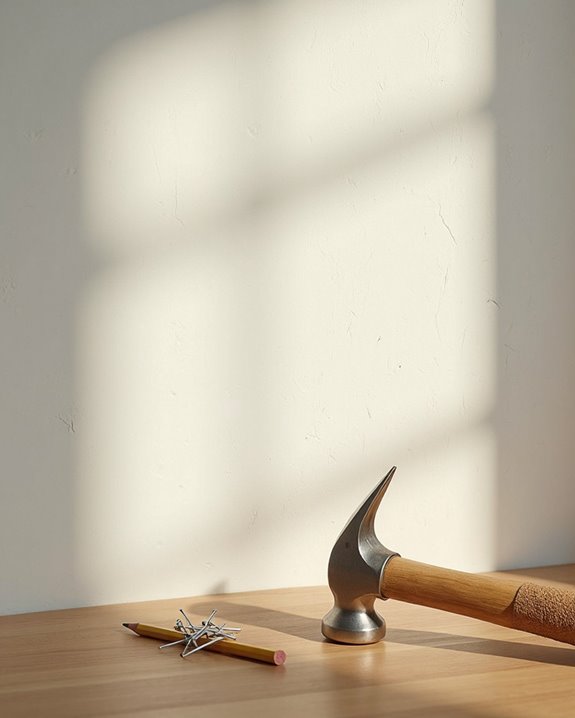
Essential Tools for Safe Nailing
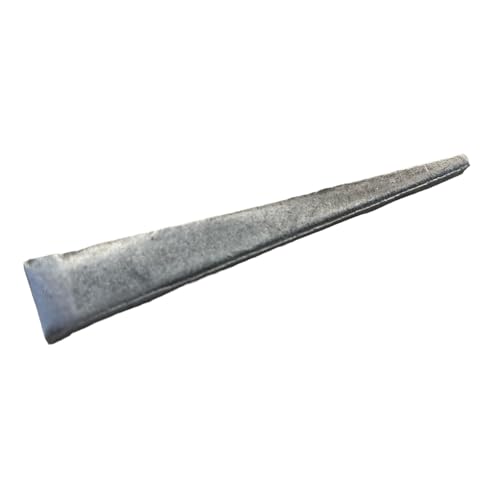
When it comes to nailing into walls without a drill, having the right tools is essential for both safety and success. You’ve gotta start with masonry nails, which are crafted for hard surfaces like plaster or brick, ensuring they penetrate effectively without bending, breaking, or causing issues without damaging the wall. Also, use a hammer in top condition, allowing for controlled, precise strikes to prevent accidents or unintended marks.
Next, don’t skip safety gear; wear eye protection, such as safety goggles, to shield against flying debris, a common risk during nailing. Grab long nose pliers to hold nails securely, improving control, reducing slippage, and protecting your hands. Optionally, keep a cordless screwdriver handy for related tasks, boosting efficiency when needed.
Recommended Products

Safety goggles for women and men with an adjustable head strap for a secure and comfortable fit

ANTI FOG & ANTI SCRATCH Safety Glasses (clear) – effective indoor & outdoor ANSI APPROVED eye protection against potential eye hazards like flying particles, droplets, chemical splashes during activities such as laboratory work, painting, grinding work, yard work, cleaning, sports. Designed for extreme atmospheric conditions (warm or cold)

💪【500N Impact Force & 92mm Long Stroke – Heavy-Duty Breaking Power】 Delivers 500N (112 lbf) of impact force with a 92mm (3.6") piston stroke – significantly longer than standard air hammers (typically 2-5/8"). This long-stroke design transfers more energy per blow, making quick work of exhaust system removal, rusted bolt breaking, concrete chipping, and metal cutting. 2500 BPM provides the right balance of power and control for professional auto body and construction work.
Preparing Your Wall for Nailing
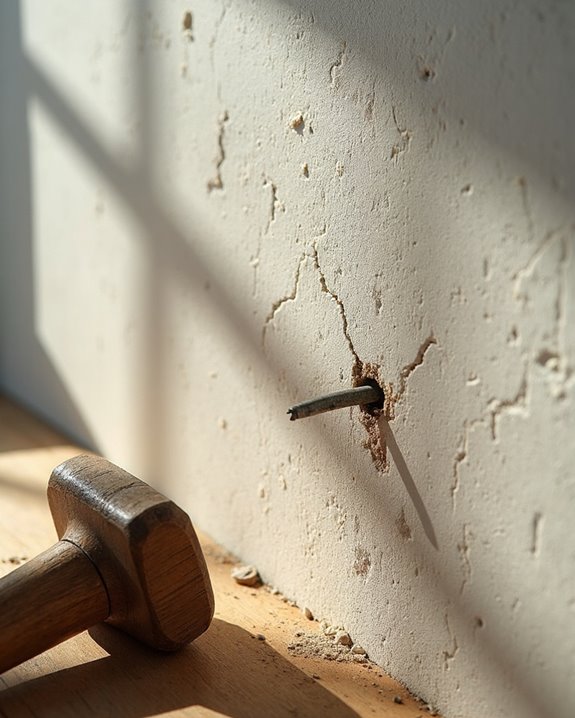
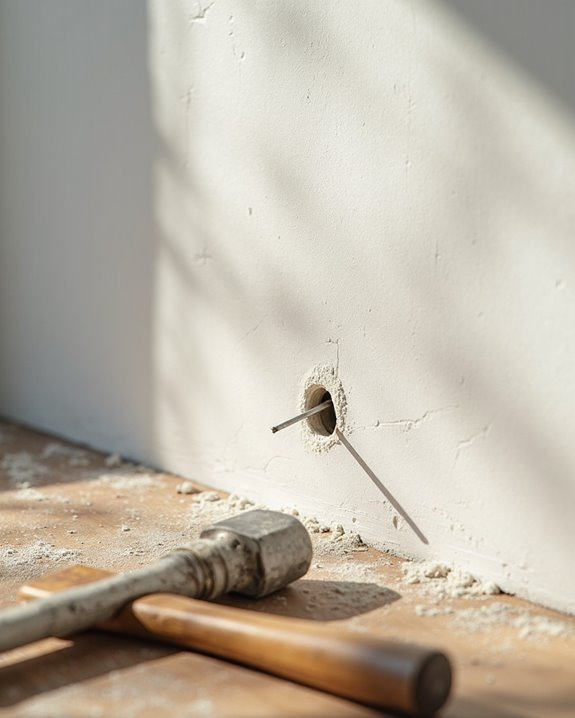
Three critical steps can guide you in preparing your wall for nailing, ensuring accuracy and minimizing damage to the surface, especially on older or delicate materials. First, mark the exact spot on your wall, particularly if it’s a 1948-built structure with grainy plaster, to guarantee precise placement and avoid unnecessary cracks or chips during the process. Second, make sure the nail is positioned horizontally for stability, using long nose pliers to hold it steady, or opt for a peg to prevent bending on tricky surfaces that resist penetration after just a few millimeters. Finally, for grainy walls, pre-drill a small pilot hole to reduce risks like paint chipping or plaster lifting, ensuring a smoother nailing experience with minimal surface harm.
Recommended Products

Vacuum-brazed diamond grit cuts faster and lasts longer

Manufacturer: Bosch
50x life in nail embedded wood & Abrasive material applications
Techniques for Plastered Surfaces
Nailing into plastered surfaces requires a specialized approach to guarantee stability and prevent damage, so you’ll need to use the right tools and techniques for a successful outcome. Start by marking the exact spot on the wall, then use long nose pliers to hold a masonry nail horizontally, tapping gently with a hammer in good condition to embed it slightly, while wearing eye protection for safety.
To minimize plaster lifting or paint chipping, consider pre-drilling a tiny pilot hole with a suitable drill bit, which reduces surface stress, guarantees precision, and eases nail insertion. After initial taps, check the nail’s alignment, avoiding angling to prevent bulging, and gradually increase hammer firmness, guaranteeing even penetration and stability for a quality finish.
Recommended Products

Designed to go over popcorn ceilings and most other surfaces without the need for expensive tools.

Versatile Surface Compatibility: These Victorian ceiling tiles are specifically designed to be installed directly over popcorn ceilings, drywall, and most other flat surfaces. This eliminates the need for messy removals or expensive specialized tools, allowing for a clean and efficient renovation.

WEIGHT CAPACITY: Supports up to 50 pounds per hook with an exclusive crimp design that increases holding strength. Ideal for large picture hangers, wall clock hanger, and heavy picture hanging hardware to hang pictures on wall securely.
Strategies for Brick and Masonry
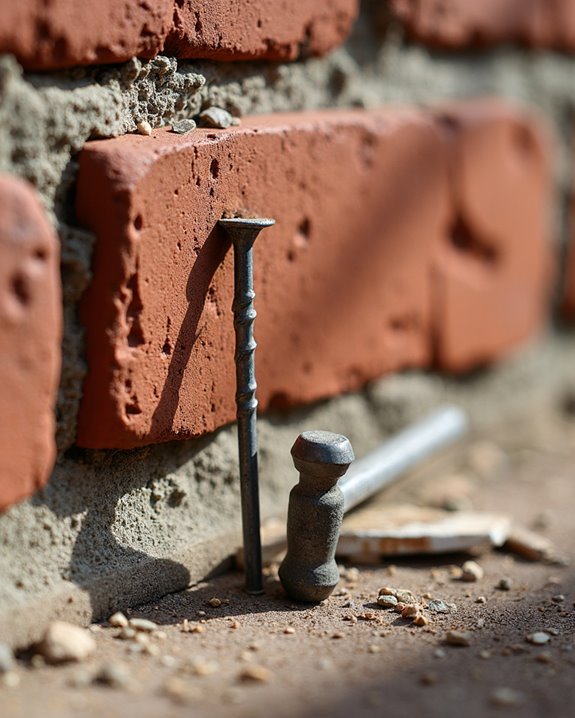
Moving from plastered surfaces to tougher materials, let’s focus on effective methods for nailing into brick and masonry, which demand a distinct set of skills and tools for success. First, you’re going to go with masonry nails, specially designed for brick, guaranteeing they penetrate tough surfaces without bending or breaking under pressure. Aim for the brick’s center when hammering, as this prevents splitting and offers a stable hold with controlled insertion.
Next, start with gentle taps using a hammer in good condition, holding it high for precision, so you gain initial control and guarantee accurate placement. Once partially embedded, strike perpendicularly to keep the nail straight, securing a firm grip in the masonry, and maintaining the integrity of your work.
Recommended Products
RUST RESISTANT & HEAVY DUTY: Our 3 inch Masonry Nails are made from Tempered Hardened Steel, which has been slightly oiled to resist rust. (Nail head is 1/2" wide, blunt end is 1/8" wide)

RUST RESISTANT & HEAVY DUTY: Our 2.5 inch Masonry Nails are made from Tempered Hardened Steel, which has been slightly oiled to resist rust. (Nail head is 1/2" wide, blunt end is 1/8" wide)
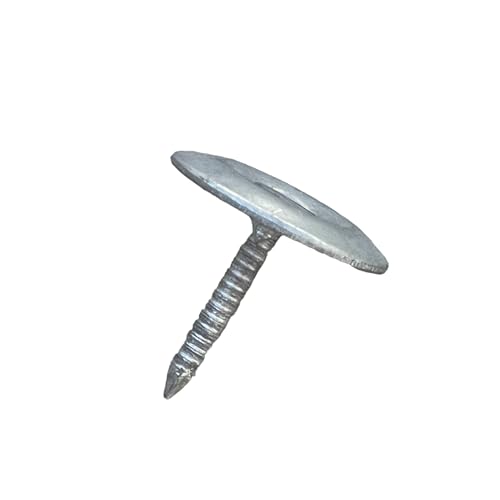
APPROXIMATELY 75 NAILS PER 1 LB.: 1" Metal Cap Nails are conveniently packaged in 1 lb. bags. Bulk orders come in boxes of 50 bags, providing approximately 3,750 nails.
Preventing Damage While Nailing
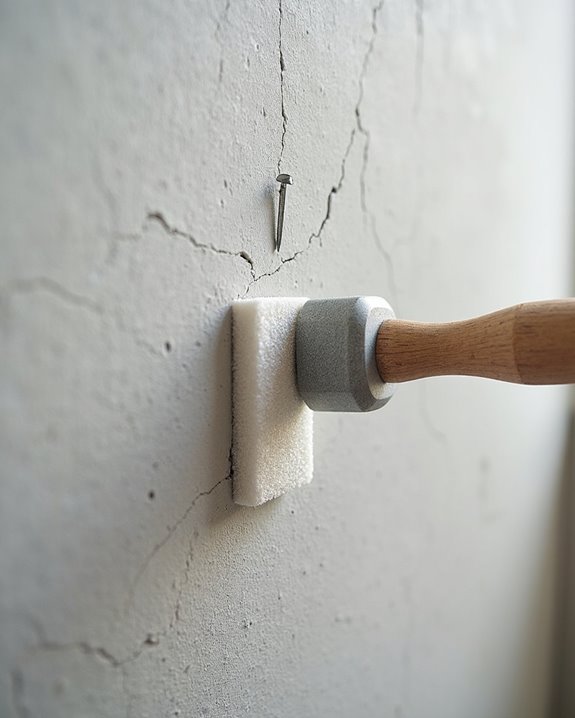
How can you guarantee that your walls remain undamaged while nailing into them without a drill? It’s essential to take deliberate steps, starting with pre-drilling a small pilot hole to minimize risks, as this prevents plaster lifting and reduces paint chipping on the wall surface. Gently tap the nail initially with your hammer, ensuring controlled penetration into the grainy material, and avoid bending by maintaining a steady hand.
Next, I’m going to stress hammering horizontally to prevent bulging or angling, which could cause surface irregularities in your painted wall. Aim for a brick’s middle, ensuring the nail enters perpendicularly for stability, and proceed slowly, hammering carefully to maintain wall integrity and protect the material beneath the paint.
Tips for Effective Nail Placement
Begin your journey to mastering nail placement by focusing on the right tools and techniques for a secure hold in challenging wall materials. When you’re tackling tasks like art hanging, use masonry nails designed for hard surfaces, such as plaster or brick, to guarantee proper penetration and minimize bending risks. Hold the nail with long nose pliers, gently tapping it with a hammer to create a straight, secure start without damaging the wall.
For brick walls, aim for the middle of the brick to prevent splitting and achieve stability, while always striking horizontally to maintain alignment and avoid cracks. After initial taps, increase hammer force gradually, checking straightness often, to guarantee precise, effective placement for any art hanging project.
Recommended Products

Used Book in Good Condition

STAS clear cords can be hooked in at any point of the rail

1/4 inch Diameter Nylon Mushroom Head Nail In Masonry Anchors with Zinc Plated Steel Nails
Frequently Asked Questions
How to Put a Nail in a Wall Without a Drill?
Ever wondered how to put a nail in a wall? Did you know 80% of DIYers struggle with this? Don’t worry! With Professional Advice, you’ll nail it easily using just a hammer and patience.
What Can I Use Instead of Drilling Into a Wall?
Hey, if you’re looking to hang stuff without drilling, try Wall Adhesives like 3M command hooks. They’re easy to use, stick well, and won’t damage your walls. You’ll love the hassle-free setup!
Can You Hammer a Nail Directly Into a Wall?
Hey, can you hammer a nail straight into a wall? Yep, it’s doable, but you’ve gotta be careful. If you’re not precise, you might cause wall damage, so take it slow and steady.
What to Do if You Can’t Drill Into a Wall?
If you can’t drill into a wall, don’t worry! Check if Permission Needed applies for alternatives like adhesive hooks. You’ve got options that’ll work without damaging the surface, so explore non-invasive solutions first.
