As an Amazon Associate, we earn from qualifying purchases. Some links on this site are affiliate links at no extra cost to you. Our recommendations are based on thorough research and editorial judgment.
Why Is My Nail Drill Not Turning On? Common Causes & Fixes
If your nail drill won’t turn on, check for power supply issues first by testing the outlet and examining the cord for damage. Verify that rechargeable models are fully charged and that the power switch is in the “on” position with speed settings above operational thresholds. Listen for grinding noises that might indicate motor problems or worn bearings. Overheating can trigger automatic shutoffs, so allow 15 minutes of cooling time between uses. Following these troubleshooting steps will help identify your specific issue.
Key Takeaways
- Check if your nail drill is properly plugged into a working outlet and the power cord isn’t damaged.
- Ensure the power switch is in the “On” position and speed settings are above minimum operational thresholds.
- For rechargeable models, verify the battery is fully charged before use and not depleted.
- Listen for grinding noises or check for abnormal vibrations that indicate worn bearings or motor issues.
- Inspect the collet and chuck areas for nail dust buildup that might be preventing proper bit rotation.
Power Connection Problems: Checking Your Outlet and Cord
When your nail drill suddenly refuses to power on, how often have you checked the most fundamental component—the power connection? Your Electric Nail Drill requires consistent power to function properly, and connection issues are the leading cause of non-responsive devices. First, make sure your electric file is securely plugged into a working outlet, checking for any loose connections that might interrupt power flow. Test the outlet with another device to verify it’s delivering electricity to your Electric Nail File.
Next, examine the power cord for visible damage such as fraying or cuts that prevent your nail drill from receiving power. Avoid using extension cords with your electric file, as they can cause inconsistent power supply. Instead, connect directly to the wall socket, and if necessary, replace damaged cords with manufacturer-approved options.
For Kiara Sky models, always verify the connector size when selecting a replacement cord to ensure compatibility.
Recommended Products
120 volts; 1600 watts
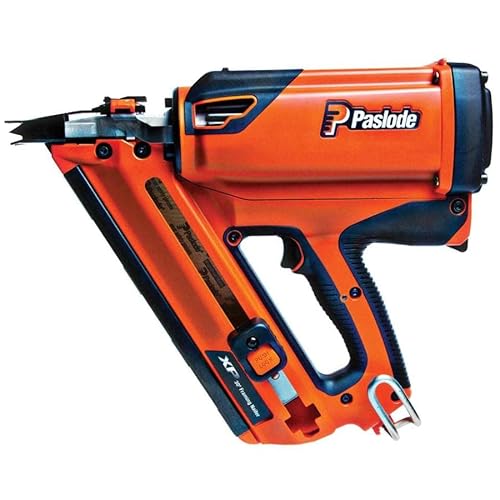
Designed to deliver improved power for fewer standing nails and better drive performance into a variety of harder woods - and with the improved cold weather performance you can put your hammer away and let this cordless nailer do it all

Battery Issues: Troubleshooting Rechargeable Nail Drills
Power cord issues aren’t the only culprits behind a non-responsive nail drill—battery problems often plague rechargeable models specifically. Professional nail drill units, commonly known as e-files, require proper battery maintenance to function reliably. Always make sure your battery is fully charged before beginning nail work, as depleted power is the most common reason electric nail files fail to start.
Avoid using your nail drill or e-file while it’s charging, as this damages the battery and creates startup problems. Unplug immediately after reaching full charge to prevent overcharging, which degrades performance over time. Only use compatible chargers that match your device’s voltage specifications, as incorrect chargers can permanently damage the battery. If you notice your e-file is an electric-powered tool that drains quickly despite full charges, replace the battery immediately.
For enhanced reliability, choose chargers that offer up to 12 hours of cordless operation to maintain your device’s performance during extended sessions.
Recommended Products

What's in the Box (1) M18 Fuel Coil Roofing Nailer (1) Vynil Coating Tip (1) M18 High Performance CP3.0 Battery (1) M18/M12 Multiple Voltage Charger (1) Contractor Bag Owner's Manual

The Pro Power SWITCH features three snap-on color cases in RED, White, and Black, allowing you to customize your look to match your style.
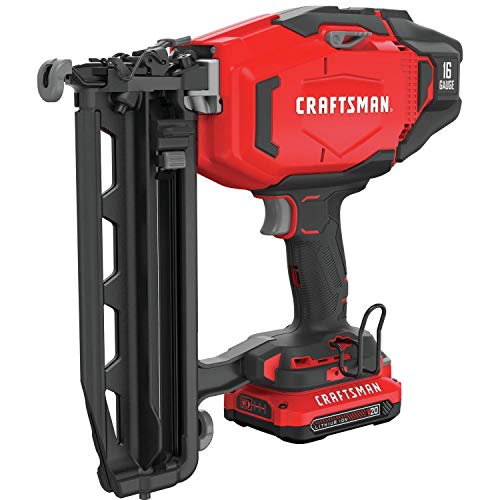
Drives adhesive collated 16 GA finish nails with this cordless finish nailer
Switch and Speed Control Malfunctions
After investigating power and battery issues, don’t overlook the possibility that your nail drill’s switches and speed controls might be the actual culprits behind startup failures. First, verify your electric-powered rotary drill’s power switch is correctly set to the “On” position, as this common oversight prevents many beginners from using their nail drill properly. Next, check if your speed settings are too low—your Nail Drill Handpiece won’t activate if the dial is set below operational thresholds. Try rotating the speed dial to different positions to diagnose potential control malfunctions.
Many nail drill models feature multiple speed options that must be correctly synchronized to function. If troubleshooting these elements doesn’t resolve the issue, consult your user manual for model-specific guidance, as manufacturer specifications often contain critical information about compatible speed and switch configurations for your particular device.
Additionally, for models with advanced speed features, ensure the stepless speed control is properly calibrated to prevent malfunctions during operation.
Recommended Products

[80% Charged in Just 32 Mins] Powered by DabFlash supercharging technology, the DBS1400 Pro power generator comes with the charging speed faster than you've ever seen on the market. And engineered with AC wall outlet and solar combined charging, 2400W input total, you can easily transform your power station to solar generator and get full charged in less than 35 mins. Solar panels sold by bundle or separately. Please confirm model before order.

【NAIL DUST COLLECTOR】: This electric nail drill combines vacuum dust collection with polishing functionality. Its built-in brushless motor delivers powerful suction, simultaneously capturing dust during polishing for a clean, dust-free operation

Powerful motor: Generates 1.8 horsepower power for tough projects
Motor Problems and How to Detect Them
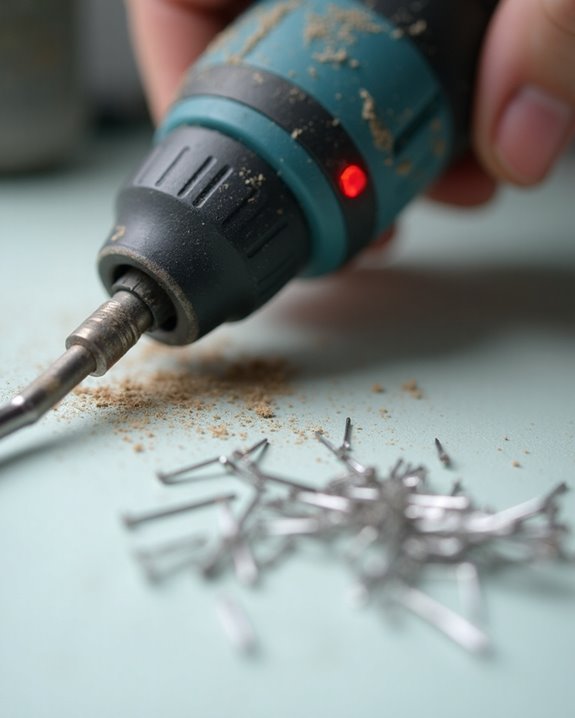
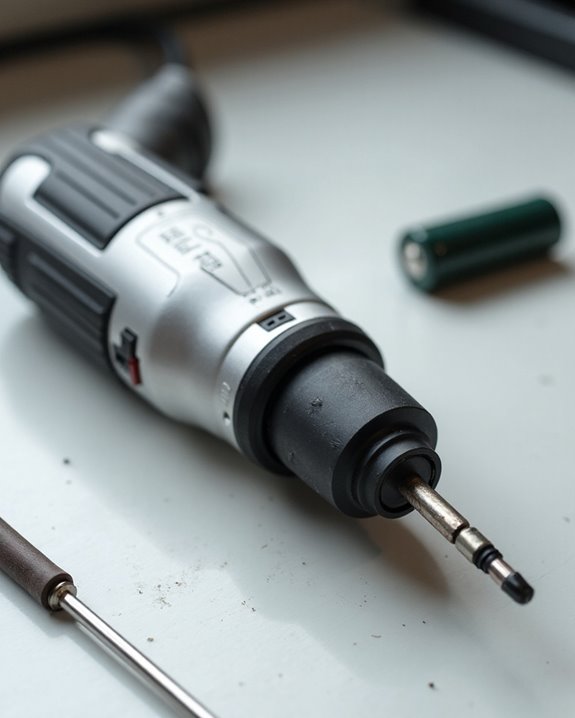
Why isn’t your nail drill activating despite having power? The motor itself may be compromised, preventing your filing nails or removing gel polish effectively. Listen for telltale signs: grinding or squeaking noises indicate worn bearings, while complete silence after powering on suggests motor failure. Abnormal vibrations or rattling during operation often point to debris accumulation around the nail drill bits, requiring a thorough clean your nail drill according to a step-by-step process in your manual.
If your handpiece overheats after less than 20 minutes of use, allow it to cool for 15 minutes before testing again. When bits for cutting aren’t rotating despite power, inspect the collet and chuck areas for nail dust blockage. For persistent motor issues that don’t resolve with cleaning, contact the manufacturer for professional repair options or replacement recommendations.
Recommended Products

Makita-built 4-pole motor delivers 155 ft.lbs. of Fastening Torque

Single acting air clutch with positive spring engagement
Speed and Power: The CP7160K features an air cushion that reduces vibration to 4.37 m/s², providing efficient power for maintenance tasks and body shop applications such as riveting, screwing, or welding cutting.
Overheating: Causes and Prevention Strategies
A properly functioning nail drill requires not just electrical power but also thermal management for best performance. When your electric nail drill overheats, it often triggers automatic shutoff mechanisms, preventing the device from turning on until cooled. Prolonged operation without breaks, particularly in poorly ventilated spaces, greatly increases this risk, potentially causing permanent motor damage.
To incorporate good care into your nail care routine, always choose the correct operating time as specified by the manufacturer, allowing your nail tool to rest for at least 15 minutes after extended use. Regularly disinfect your nail drill and remove debris buildup to maintain proper airflow. For battery-powered models, avoid operating while charging, as this compounds heat generation. These prevention strategies will extend your device’s lifespan and guarantee consistent performance during your nail treatments.
Dust and Debris Accumulation: Cleaning Your Nail Drill

The silent killer of nail drills often lurks in plain sight—dust and debris that gradually infiltrate your device’s internal components. When you’ve used your nail drill for filing nails or removing nail enhancements, tiny particles accumulate in the motor and bearings, preventing proper operation. Always disconnect your device from power before cleaning to guarantee safety during maintenance.
After each use, wipe your drill with a soft cloth or fine brush, paying special attention to areas where debris collects when working with a variety of grits. Regular nail care tool maintenance prevents jammed bits and extends your device’s lifespan. For detailed cleaning, use a toothbrush to access hard-to-reach areas without bending the handle, which could worsen existing issues. Store your cleaned drill in a dry environment to prevent future operational problems.
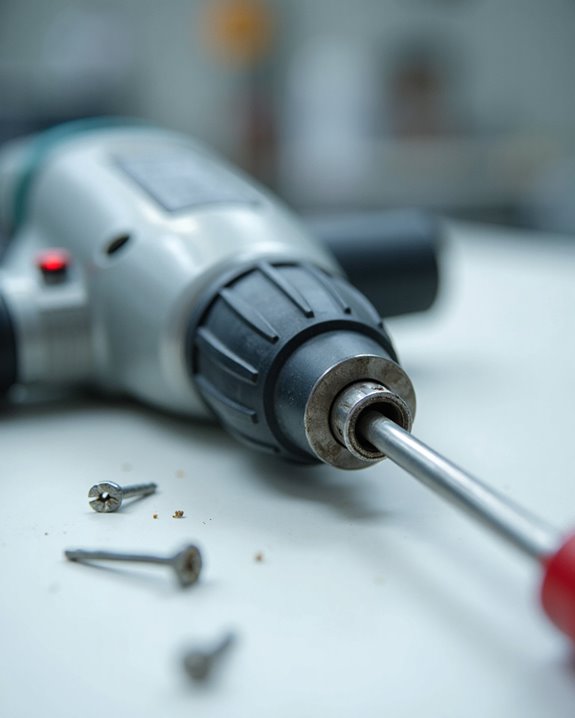
Collet and Chuck Issues: When Bits Won’t Stay in Place

Beyond dust and debris, your nail drill’s performance often hinges on proper collet and chuck functionality, which directly impacts how securely bits stay in place during operation. For nail technicians using their equipment for the first time, understanding this mechanical relationship is vital for achieving precise nail art and preventing damage to natural nails.
When you notice bits slipping out during use, check first for improper installation, ensuring you’ve fully tightened the chuck according to manufacturer guidelines. Regular maintenance is essential in this thorough guide—clean your collet after each session using a soft brush once disconnected from power. If bits consistently fail to stay secure despite proper cleaning and installation, worn components may need replacement. Neglecting these issues can strain your motor when removing nail products and potentially create safety hazards during detailed work.
Professional Repair vs. DIY Solutions: When to Seek Help
When should you attempt to fix your nail drill yourself, and when is it time to consult a professional? While nail drills come in a variety of models, certain repair guidelines remain consistent. Make sure you only attempt DIY solutions for basic maintenance, such as cleaning the device or checking power connections. For the Perfect Nail experience, professional assistance is essential when dealing with motor issues, bearing problems, or electrical component failures. If your device exhibits abnormal noises, vibrations, or overheating that persists after a small amount of troubleshooting, it’s best to seek expert help. The Best Nail technicians recommend professional repair for complex issues to guarantee safety, prevent further damage, and maintain your device’s longevity. Your Nail Ideas deserve professional-grade equipment that functions properly.
Recommended Products

[50,000 RPM Professional Power] O NAIL Pro Max delivers up to 50,000 RPM for fast gel, acrylic and builder gel removal. The high-torque motor helps maintain steady speed under pressure, giving nail technicians smoother control during removal, shaping and refinement.

Offering professional grade results this small air compressor with 8-gallon pressure tank offers 1.7HP of power, 5.6CFM at 40PSI, 4.2CFM at 90PSI allowing you to use staple guns, brad nail gun, roofing nail gun, framing nail gun, airbrushes, blow guns, air drill, HVLP spray gun, pneumatic screwdriver, and more.

COMPACT AND LIGHT: Just a 5.5 in. head-length and 1.6 lbs. in weight
Frequently Asked Questions
Why Is My Electric Nail File Not Turning On?
Your electric nail file might not be turning on due to power issues, battery failure, cord damage, switch malfunction, overheat protection activation, or an adapter mismatch. Check these components systematically to identify the problem.
Why Is My Nail Drill Skipping?
Did you know 70% of drill stuttering issues are preventable? Your nail drill’s skipping causes likely include debris accumulation, worn bearings causing rotation issues, improperly installed bits jamming, low battery creating motor fluctuations, or overheating leading to speed variations.
How Long Should a Nail Drill Last?
Your nail drill’s lifespan factors include usage duration and maintenance effects. With proper care, expect 3-5 years of service. Check warranty length when purchasing. Follow durability tips like regular cleaning to extend replacement timing.
What Does E1 Mean on My Nail Drill?
Nearly 40% of nail drill issues are heat-related. The E1 fault code on your drill signals overheating or motor malfunction. Allow 15 minutes of cooling before restarting—this E1 decoding helps prevent permanent damage during troubleshooting.