As an Amazon Associate, we earn from qualifying purchases. Some links on this site are affiliate links at no extra cost to you. Our recommendations are based on thorough research and editorial judgment.

How to Sharpen Nail Drill Bits Properly: A Step-by-Step Guide
Sharpening nail drill bits requires proper identification of dullness signs first, including rough surfaces and decreased efficiency. Clean bits thoroughly with a soft brush, then disinfect for 3-5 minutes before drying completely. Use fine-grit sandpaper on steel bits at a 20-30 degree angle, while diamond bits need a diamond sharpening plate with gentle strokes. Apply lubricating oil after sharpening to extend bit life, and always wear protective eyewear during the process. The following techniques guarantee best performance for up to 150-300 services.
Key Takeaways
- Clean bits thoroughly with a soft brush to remove debris before attempting any sharpening process.
- Use a diamond sharpening plate with gentle, even strokes for diamond bits and fine-grit sandpaper for steel bits.
- Maintain a consistent 20-30 degree angle while using back-and-forth motions during the sharpening process.
- Test bit sharpness periodically on acrylic surfaces and rotate bits regularly to ensure even edge restoration.
- Apply lubricating oil after sharpening to reduce friction and extend bit life up to 150-300 uses.
Identifying Dull Nail Drill Bits: Signs It’s Time to Sharpen
The performance of nail drill bits gradually deteriorates with use, making regular assessment essential for maintaining quality service. Technicians should monitor their tools for specific indicators that signal diminished functionality, particularly when working on gel nails or attempting to remove products efficiently.
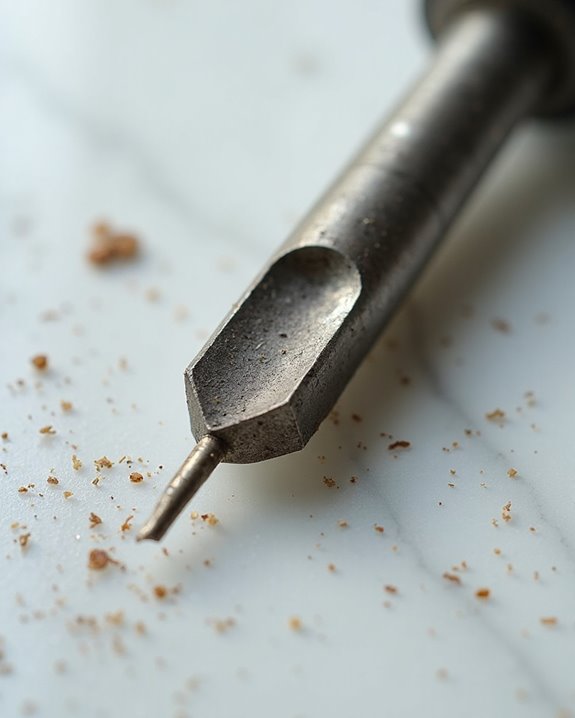
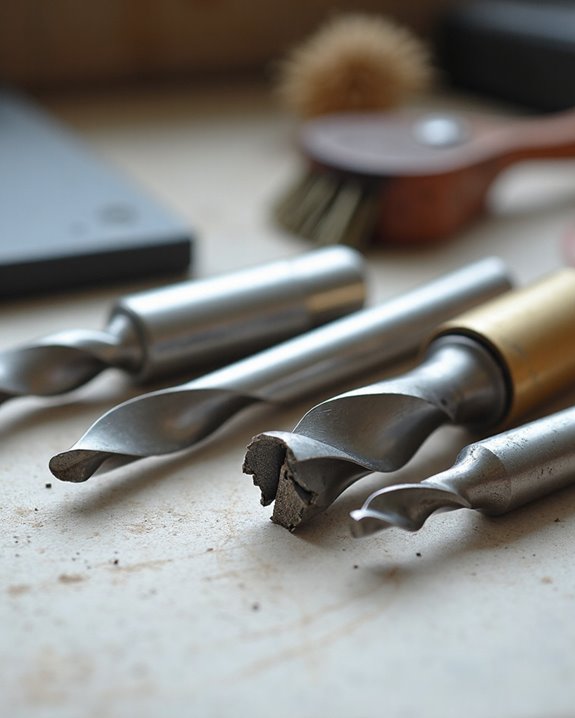
Dull nail drill bits, especially diamond bits, often create rough, irregular surfaces rather than precise cuts, requiring additional pressure and time during services. Fine grit bits show wear through decreased cutting efficiency and increased friction, generating excessive heat that risks damaging your clients’ natural nail beds. Visual inspection may reveal asymmetric edges or improperly shaped cutting surfaces on carbide varieties. When a bit no longer glides smoothly through materials and instead causes discomfort or produces powdery residue inconsistently, it requires immediate sharpening to restore peak performance. Additionally, incorporating proper grit selection can help ensure bits remain effective for tasks like shaping or polishing, preventing early wear.
Recommended Products

With the Drill Doctor 750 Sharpen multiple types of drill bits –high-speed steel, masonry, Cobalt, & tin-coated drill bits

SHARPENS STANDARD DRILL BITS: The DD750X drill bit sharpener sharpens twist bits from 3/32" to 3/4". This professional system can even be used to put an edge back onto broken bits.

SHARPENS STANDARD DRILL/TWIST BITS: The DD500X drill bit sharpener sharpens twist bits from 3/32" to 1/2". Optional 3/4 inch chuck available as an upgrade.
Essential Tools and Materials for Sharpening Nail Drill Bits
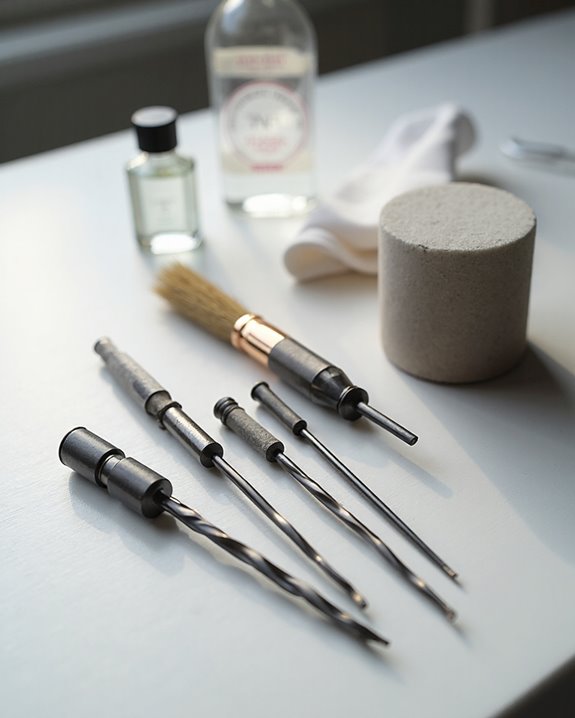
Successful nail bit sharpening requires specific tools and materials, which professionals should gather before attempting any restoration process. For steel nail bits, fine-grit sandpaper or a nail file provides effective edge restoration, while diamond nail bits necessitate a specialized diamond sharpening plate to maintain their abrasive properties.
A fine diamond file or sharpening stone enables precise maintenance when applied at a 20-30 degree angle, ensuring even strokes across the bit’s surface. Proper lubrication with oil after sharpening reduces friction and extends the life of mandrel bit attachments and sanding bands. Professionals may consider investing in complete tool sets that include drill bit maintenance accessories, ensuring all nail bits remain in ideal condition. These essential tools, when used correctly, greatly extend the functionality and performance of nail drill implements.
Recommended Products

10 inches long x 3 inches wide

Precision Ground Flatness to +/- 0.002” (0.05mm) for Ultimate Sharpening Results

Clean Finish for Tough Nails - this dog nail grinder bit features a 120 Grit Polishing Tip that refines nail tips and sides in one pass, helping prevent splinters, jagged edges, and sharp points.
Preparing Your Nail Drill Bits for the Sharpening Process
Proper preparation of nail drill bits constitutes a critical first step in the sharpening process, ensuring best results and extended tool life. Begin by thoroughly cleaning the bits with a soft brush or cloth to remove accumulated debris and buildup that might interfere with sharpening effectiveness. After physical cleaning, immerse metal bits in a disinfectant solution for 3-5 minutes to eliminate contaminants and prevent cross-contamination between nail tools.
Once clean and disinfected, carefully dry each bit completely to prevent rust formation, which compromises both performance and longevity. Examine the bits for signs of dullness, including reduced cutting efficiency or irregular surfaces. Be sure to clean and inspect according to material type—diamond bits typically require more frequent maintenance than carbide bits, which can last through 150-300 services before requiring sharpening.
Furthermore, for optimal performance, select tungsten carbide bits that offer superior heat dissipation to protect nails during the sharpening process.
Recommended Products
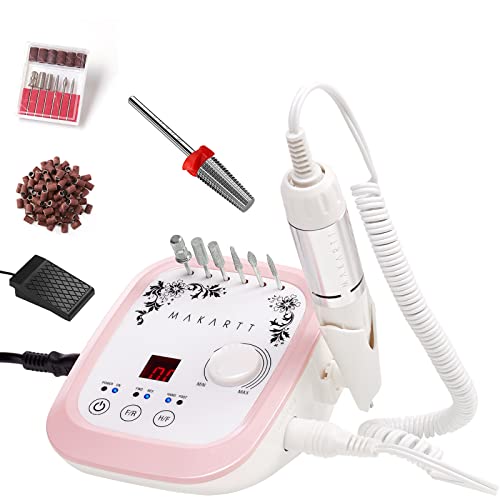
Makartt brand always forcus on nail art products, including nail drill machines and nail bits. Made of carbide, the hardest material next to diamonds, Makartt drill bits have perfect performance on nail design work. package in a little gift bag, portable and best choice for as a gift for your girl firend, sister, momther.
![Original KMIZ Nail Drill Bit [5‑Pack] - Carbide Cone, 6.0 mm, Medium Cross‑Cut, 3/32" Shank - E‑File Bit for Gel & Acrylic Removal, Infills & Callus Treatment - model TCO-Sp 060-M](https://m.media-amazon.com/images/I/417GWQGPUlL._SL500_.jpg)
5‑Pack KMIZ Nail Drill Bit TCO-Sp 060-M - medium cross-cut tungsten carbide cone bits with a 6.0 mm head and 14.0 mm working part, designed for removing overlay materials, cleaning excess buildup, and treating calluses during e-file manicures and pedicures. The medium cross-cut sits between the coarse cone (TCOD 060-C) for maximum speed and the triple cross-cut (TCO-Tri 060-M) for smoothest finish - a balanced all-rounder for daily salon use. Manufactured by KMIZ - a medical instrument factory established in 1931, producing on Swiss Rollomatic CNC equipment.

**Turn Hours into Minutes.**For busy techs, time is revenue. Our industrial-grade Tungsten Carbide nail drill bits (coated in Titanium Nitride) feature a razor-sharp 2XC "Typhoon" shape that shreds through thick acrylic nails and hard builder gel like butter. No clogging, no stalling. Clear a full set in half the time and fit more clients into your day.
Step-by-Step Techniques for Sharpening Different Bit Types
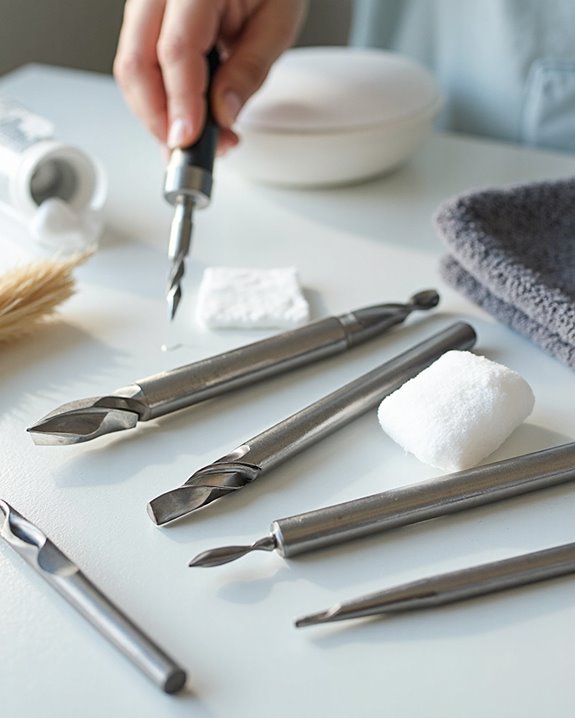
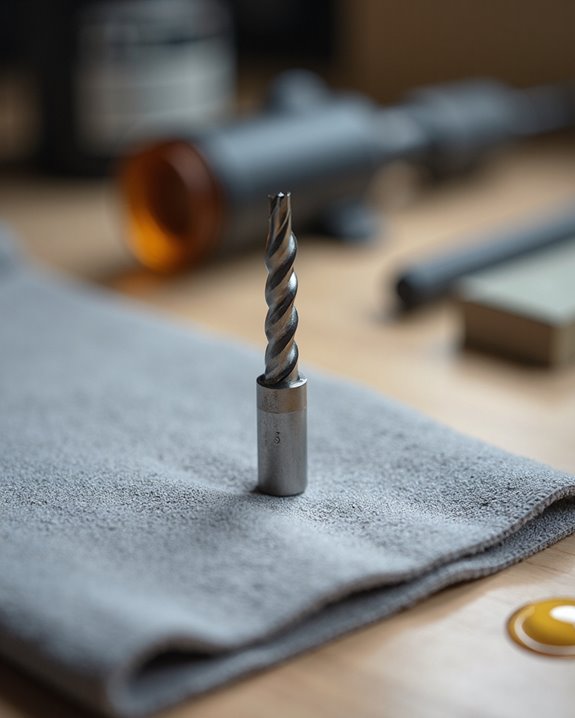
With your nail drill bits clean and disinfected, effective sharpening techniques vary based on the bit material and design. For steel bits, nail technicians should use a fine-grit sandpaper or nail file, positioning the bit at a 20-30 degree angle while applying consistent back-and-forth motions, rotating regularly to maintain a Smooth Top edge without damaging the structure.
Diamond bits require a different approach, utilizing a diamond sharpening plate with gentle, even strokes. Throughout the sharpening process, the type of nail drill bit determines the pressure applied—always test periodically on acrylic surfaces until the bit glides effortlessly through a Clean Nail surface. After sharpening, apply lubricating oil to help bits last longer, extending their service life up to 150-300 uses with proper maintenance and care.
Recommended Products

Polished, Rounded Finish - featuring a 120 Grit Polishing Tip, this dog nail grinder bit shapes both the bottom and sides of the nail smoothly, giving a tidy, snag-free finish on small paws.

【3 Types 50PCS Bi-metal Blades】Compared with ordinary saw blades kit, the set of bi-metal saw blades provided 2X cutting efficiency. Includes 3 different types of multitool blades, 20pcs 1-3/8"inches, 15pcs 1-3/4"inches, and 15pcs extra long 2-3/4"inches. Ideal for a project that requires precise and detailed cuts.

Professional Nails Drill Bits:This nails drill bitsset includes 10 different drill bits for a variety of nail art tasks, including reshaping, polishing, smoothing, grinding, and carving. Perfect for builder gel nails and acrylic nails, this professional set addresses all your cuticle removal and nail shaping needs.
Safety Precautions When Sharpening Nail Drill Bits
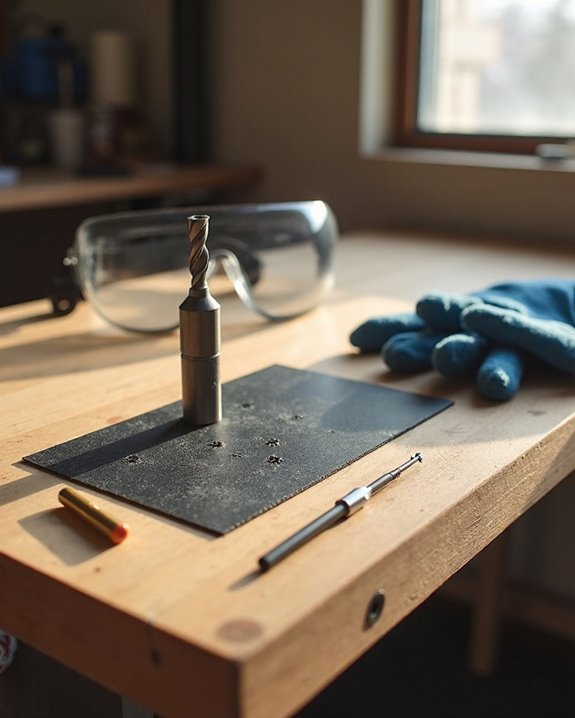
Because sharpening nail drill bits involves precision tools and creates fine particles, safety must remain a top priority throughout the entire process. Technicians must make sure to wear protective eyewear to shield against debris that helps remove material from the bits. Secure clamping of bits to remove risk of slippage is essential for preventing injuries that could sideline a nail technician for a long time.
Working in well-ventilated areas guarantees proper product removal without exposure to harmful dust. Taking frequent breaks prevents overheating, which extends the life of bits while maintaining safety. After sharpening, professionals should carefully inspect each bit for damage, discarding any compromised tools immediately. These precautions, when followed consistently, create a safer environment for nail professionals who regularly maintain their equipment.
Additionally, using slower speeds can help minimize dust and heat buildup, ensuring a safer sharpening process.
Maintaining Sharpness: Care Tips for Extending Bit Lifespan
Extending the lifespan of nail drill bits requires consistent care routines that nail technicians can easily incorporate into their daily practice. After each service, thoroughly clean bits by scrubbing with a soft brush to remove any nail debris, then soak in disinfectant solution, which preserves their effectiveness when used on natural nails. This cleaning regimen helps maintain the sharpness needed for a perfect manicure, extending bit service life to 150-300 uses.
For ideal maintenance, lubricate steel or diamond bits with a few drops of oil after cleaning to reduce friction when using nail products. Store all bits in dry, organized containers to protect their integrity, as moisture exposure greatly compromises performance. Regular inspection guarantees the best nail experience, allowing technicians to identify when sharpening is necessary or when bits that remove polish quickly require replacement rather than restoration.
Recommended Products

Quantity: 1 piece | Color: White Blue Swirl Acrylic Handle with Pink Ferrule | Size: 20 |

The Ultimate 13-in-1 Kit: This is the only set you'll ever need. It combines 3x Tungsten Carbide (for power), 3x Ceramic (for safety), and 6x Diamond (for precision), plus 5 cleaning brush, creating the perfect professional manicure pedicure kit for all nail types.

Quantity: 1 piece | Color: Round White Swirl Blue Handle | Size: 16 brush | Dimension: Length: 7.1 inches | Tips Brush: 0.3 Inches x 1.0 Inches
Frequently Asked Questions
What Is the Best Method for Sharpening Drill Bits?
Sharp as a tack, ideal drill maintenance involves angle sharpening steel bits with file techniques at 20-30 degrees, while diamond bits require stone honing. Electric sharpeners assist in bit restoration, though carbide bits should be replaced.
Can I Sharpen My Nail Drill Bits?
Nail drill bits can be sharpened based on material suitability. Steel and diamond bits are restorable with proper techniques, while carbide bits should be replaced. Safety concerns, durability factors, cost analysis, and environmental impact influence this decision.
How to Sharpen Nail Tools at Home?
While professionals scoff, home sharpening of nail tools is quite possible. DIY files and edge honing techniques require safety precautions. Clean tools first, use appropriate abrasives, apply polish techniques, and remove rust for effective tool maintenance.
How Do You Use a Nail Drill Bit for Beginners?
Beginners should prioritize Safety Precautions by selecting medium/fine Bit Selection, maintaining low Speed Adjustment, and proper Hand Positioning. Technique Basics include resting hands on stable surfaces while practicing on artificial nails to avoid common Usage Errors.