As an Amazon Associate, we earn from qualifying purchases. Some links on this site are affiliate links at no extra cost to you. Our recommendations are based on thorough research and editorial judgment.
How to Change a Nail Drill Bit?
To change a nail drill bit, start by unplugging your corded drill and ensuring it’s turned off to prevent accidental activation. Place it on a stable surface, inspect the cord for damage, and confirm the voltage matches the drill’s specs for safety. Gently remove the old bit by reversing the attachment steps, handle it carefully to avoid sharp edges, and sterilize it for hygiene. Securely install the new bit, aligning it with the mandrel. There’s more to explore on proper testing.
Key Takeaways
- Unplug the nail drill and ensure it’s turned off to prevent accidental activation.
- Gently remove the old bit by reversing the attachment steps, avoiding sharp edges.
- Select a suitable replacement bit, like a barrel or football shape, for your needs.
- Securely attach the new bit to the mandrel, ensuring proper alignment and tightness.
- Test the bit at low speed on a practice surface to confirm secure attachment.
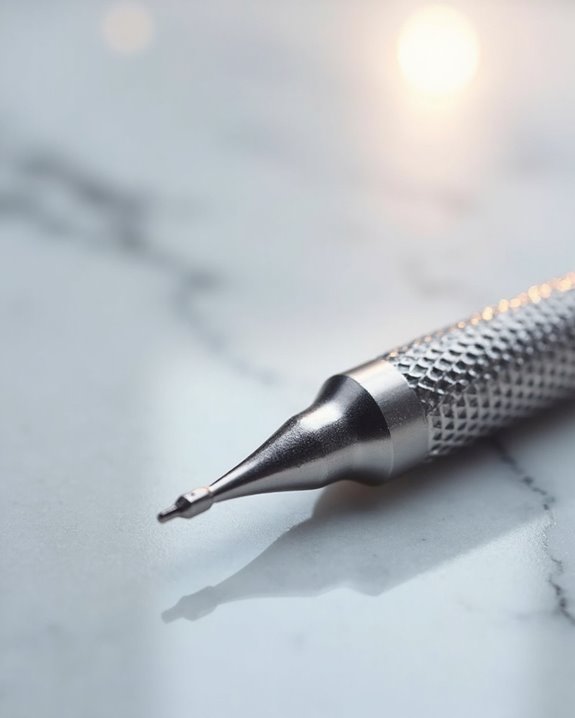
Preparing Your Nail Drill for Bit Replacement
To begin the process of preparing your nail drill for bit replacement, let’s focus on the critical first steps to assure safety and efficiency. First, prioritize Safety Precautions by ensuring your corded nail drill is unplugged, as this prevents accidental activation, a risk highlighted in user tutorials. Confirm the device is turned off, eliminating any chance of unexpected operation during handling.
Next, address Cord Maintenance by inspecting the cord for damage or wear, since user reports note potential failures that could impact functionality, especially in budget models like the $11 corded drill. Place your drill on a stable surface, as recommended for beginners, to maintain control. Verify the drill’s operational status, ensuring reliability despite possible cord issues, before proceeding further. Finally, confirm the cord’s proper voltage matches your drill’s specifications to avoid any operational risks.
Recommended Products
![[Upower] G3 Professional Nail Drill Machine, 20000 RPM Electric File for Nails, Rechargeable Portable Nail Machine, Low Noise & Low Vibration (Made in Japan) Produced by URAWA Corp. [White]](https://m.media-amazon.com/images/I/41a69YdRM7L._SL500_.jpg)
G3 for Professional is made in Japan and extremely portable and rechargeable Nail Machine (E-File, Nail Drill).

Extra Heavy-Duty Professional Use Step Ladder

INCLUDES: NT1865DMS Cordless Finish Nailer, (1) Compact 3.0Ah Lithium Ion Battery BSL1830C, Charger, Contractor Bag, Safety Glasses
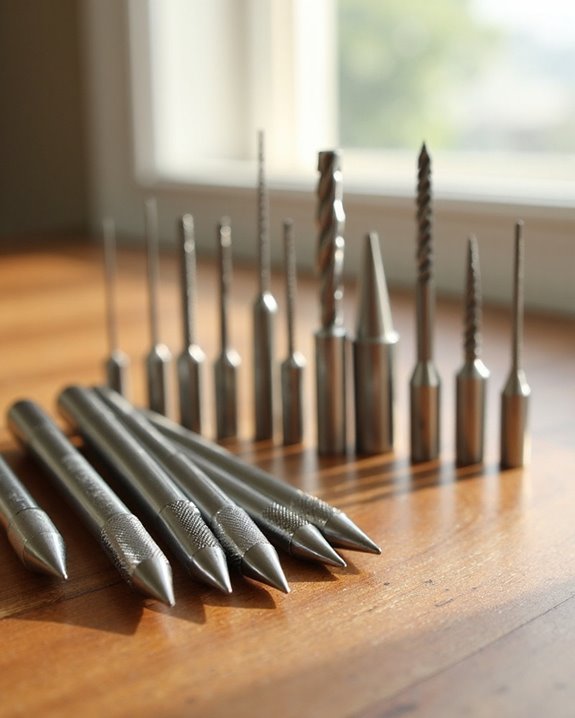
Removing the Old Drill Bit Safely
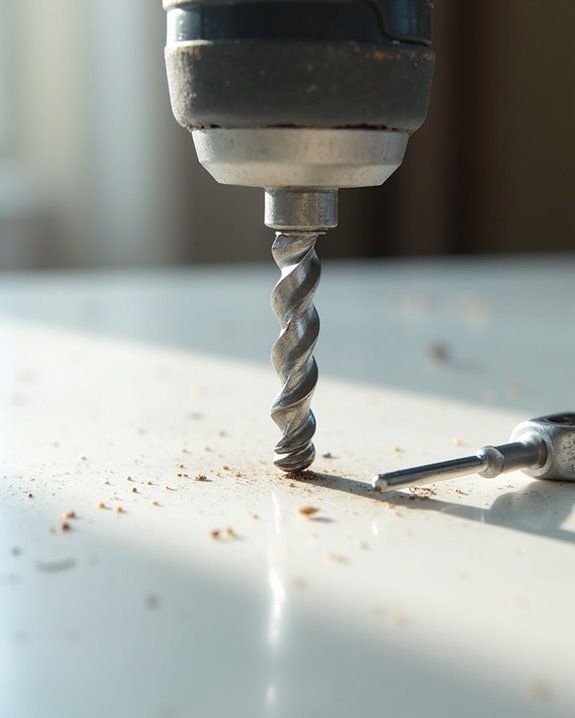
After you’ve properly prepared your nail drill by ensuring it’s powered down and unplugged, it’s time to move forward with removing the old drill bit in a safe manner. Start with Cord Safety by inspecting the drill’s cord for damage or wear, as frayed wires could pose risks during handling, and confirm no power is flowing to the device.
Next, focus on the bit removal process by gently detaching it from the mandrel, reversing the attachment steps, since mandrel bits act as bases for various attachments. Handle the bit cautiously to avoid injury, keeping fingers clear of sharp edges. Finally, perform a Mandrel Inspection, checking for residue or wear on the mandrel, ensuring it’s clean and undamaged for future use.
Additionally, after safely removing the bit, it’s important to sterilize nail drill bits to maintain hygiene and prevent potential infections.
Recommended Products
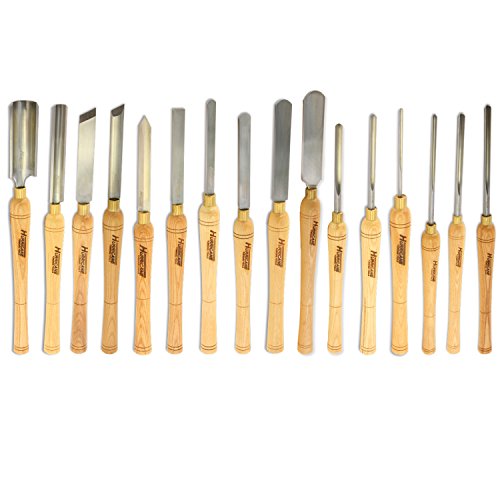
Includes: 1/2" (5/8" Bar Stock), 1/4" (3/8" Bar Stock), 3/8" (1/2" Bar Stock) Bowl Gouges; 1/4", 3/8", 1/2" Spindle Gouges; 1", 1 1/2", 3/4", 1/2" Round Nose Scrapers; 3/4" Square Nose Scraper; 3/4" Diamond Parting Tool; 3/4" Oval and 1" Skew Chisels; 1", 2" Spindle Roughing Gouge
10 Hour Battery

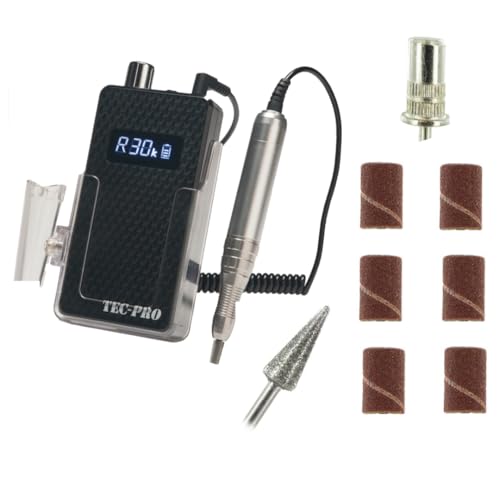
【Professional Brushless Nail Drill Machine for Longer use & Better experience】 Equipped with an updated high-quality bearing brushless motor, enables this electric nail file works smoothly even at a high speed (0-35000 RPM) by rotating the speed control knob. Ultra-smooth operation with lower heat and Quiet & Vibration Free. The professional nail drill with a unique safety protection system to avoid the motor excessive temperature rise. High precision with 0.015mm coaxiality max. can be used more than 15,000 hours.
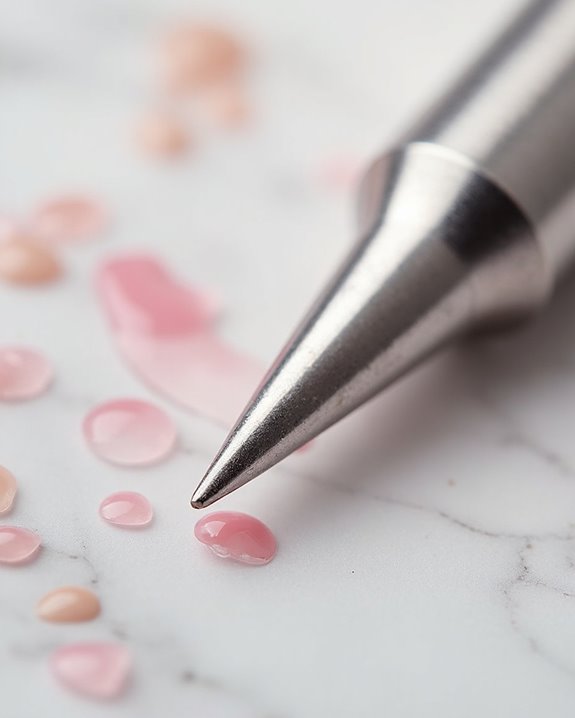
Selecting the Right Replacement Bit
How do you go about picking the perfect replacement bit for your nail drill? It’s essential to understand Bit Shapes and Grit Levels to match your specific nail tasks. Start with Bit Shapes: if you’re working under long point nails, choose a straight point bit for precise filing; for rounding cuticle edges or under nail beds, a football bit works best due to its rounded design; or select a barrel bit for external filing, ideal for general use.
Next, consider Grit Levels to guarantee efficiency and finish. Opt for fine grit for a smooth result, especially with cuticle oil, or coarser grits for tough material removal. A mandrel bit can also serve as a base, allowing various grit attachments for precise trimming. Additionally, for enhanced durability in professional applications, choose bits made from materials like tungsten carbide, which offers superior resistance to wear and high temperatures.
Recommended Products
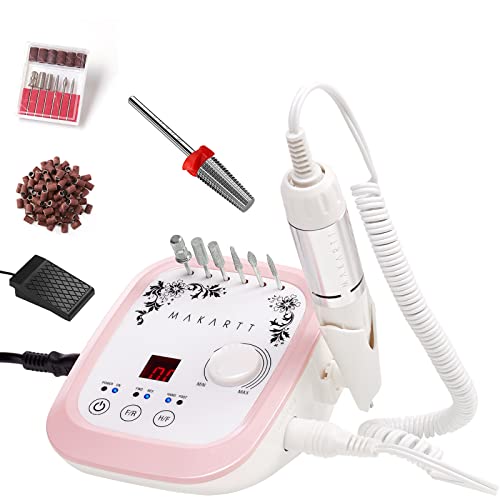
Makartt brand always forcus on nail art products, including nail drill machines and nail bits. Made of carbide, the hardest material next to diamonds, Makartt drill bits have perfect performance on nail design work. package in a little gift bag, portable and best choice for as a gift for your girl firend, sister, momther.
![Original KMIZ Nail Drill Bit [5‑Pack] - Carbide Cone, 6.0 mm, Medium Cross‑Cut, 3/32" Shank - E‑File Bit for Gel & Acrylic Removal, Infills & Callus Treatment - model TCO-Sp 060-M](https://m.media-amazon.com/images/I/417GWQGPUlL._SL500_.jpg)
5‑Pack KMIZ Nail Drill Bit TCO-Sp 060-M - medium cross-cut tungsten carbide cone bits with a 6.0 mm head and 14.0 mm working part, designed for removing overlay materials, cleaning excess buildup, and treating calluses during e-file manicures and pedicures. The medium cross-cut sits between the coarse cone (TCOD 060-C) for maximum speed and the triple cross-cut (TCO-Tri 060-M) for smoothest finish - a balanced all-rounder for daily salon use. Manufactured by KMIZ - a medical instrument factory established in 1931, producing on Swiss Rollomatic CNC equipment.

**Turn Hours into Minutes.**For busy techs, time is revenue. Our industrial-grade Tungsten Carbide nail drill bits (coated in Titanium Nitride) feature a razor-sharp 2XC "Typhoon" shape that shreds through thick acrylic nails and hard builder gel like butter. No clogging, no stalling. Clear a full set in half the time and fit more clients into your day.
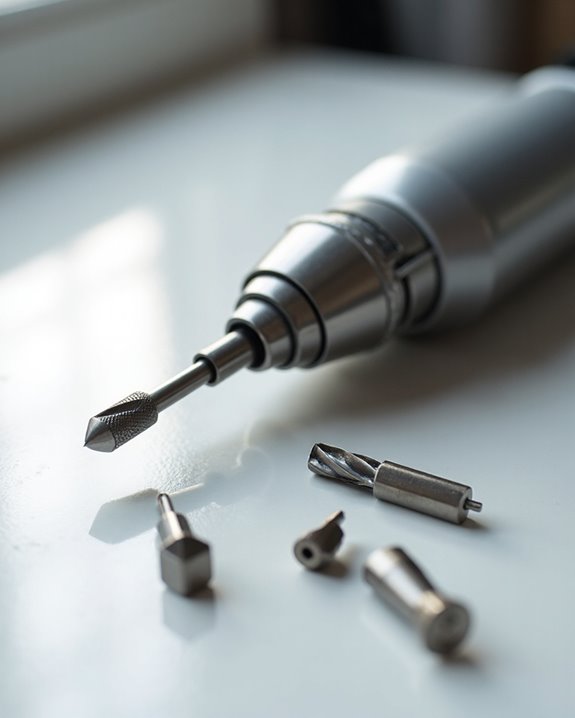
Installing the New Drill Bit Securely
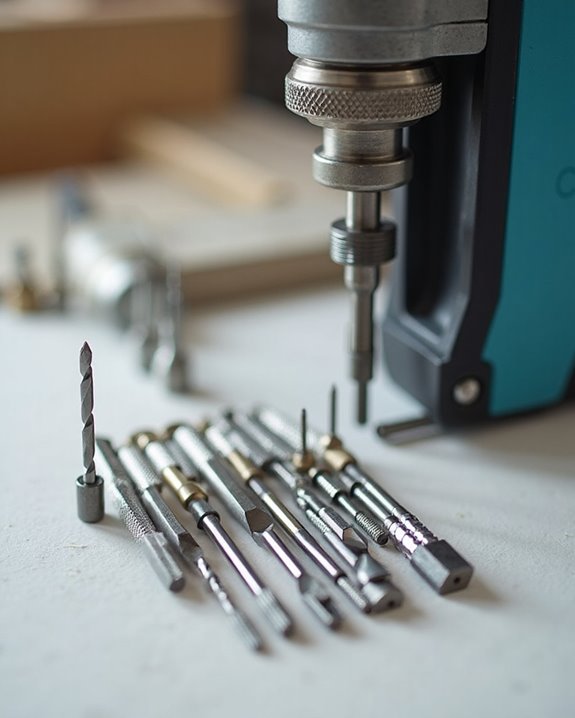
Begin the process of installing your new nail drill bit by ensuring a secure connection to the mandrel bit, which acts as the foundational base for attaching various grit pieces during operation. Focus on mandrel alignment, confirming that the grit piece fits precisely on the mandrel, and check compatibility with your drill, as mismatched components can cause issues. Tighten the bit with secure fastening, making sure it’s firmly in place to avoid slippage, and refer to tutorials for visual guidance on proper installation techniques, especially with common grits like medium or coarse barrels.
Double-check the setup for a reliable fit, ensuring the mandrel and bit are aligned correctly, so the connection remains stable during operation.
Recommended Products


Professional Nails Drill Bits:This nails drill bitsset includes 10 different drill bits for a variety of nail art tasks, including reshaping, polishing, smoothing, grinding, and carving. Perfect for builder gel nails and acrylic nails, this professional set addresses all your cuticle removal and nail shaping needs.

Cross Cut Design: The cross cut pattern features intersecting grooves that create a crisscrossing blade layout. This design allows for: Smoother Operation: Reduced vibration and a smoother feel during use compared to straight cut bits. Enhanced Material Removal: Efficiently removes material with less pressure, minimizing friction and heat generation. Improved Debris Extraction: The cross cut grooves help channel dust and debris away from the nail, maintaining a clean work area.
Testing the Bit Before Use
While you’ve successfully installed the new nail drill bit, it’s crucial to test its performance before using it on a client or yourself, ensuring both safety and effectiveness during operation. Start with Durability Testing by lightly filing a practice hand or nail tip, as seen with barrel bits, to confirm the bit functions without damage, and check its grit level—medium for standard filing or coarse for faster removal—to match your needs.
Next, for mandrel bits, run the drill at low speed on a practice surface, verifying secure attachment and smooth operation, while fine grit bits can be tested with cuticle oil for a polished finish. Remember Maintenance Tips: always inspect bits post-test, ensuring they’re clean and ready for safe, professional use.
Recommended Products

Check out our Threads: Our patented thread technology allows the washer head screw to be driven faster, is easier to install, and reduces splitting in wood. Let SPAX take some of the hassle out of your next project.
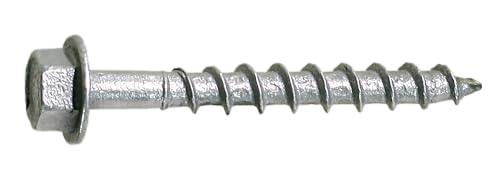
NAIL REPLACEMENT: The Strong-Drive SD Connector #9 x 1-1/2 inch screw is specifically designed to replace nails in certain Simpson Strong-Tie connectors and is the only screw tested and approved for that application. The single-fastener load capacity of the #9 SD exceeds the capacity of a 10d common nail.

NAIL REPLACEMENT: The Strong-Drive SD Connector #9 x 2-1/2 inch screw is specifically designed to replace nails in certain Simpson Strong-Tie connectors and is the only screw tested and approved for that application. The single-fastener load capacity of the #9 SD exceeds the capacity of a 10d common nail.
Frequently Asked Questions
How Do I Change the Bit on a Drill?
Changing a drill bit is like swapping puzzle pieces for the perfect fit. You’ll master Bit Selection by picking the right one. Follow Safety Tips—unplug first, then swap bits with ease. Done!
How Do I Get the Drill Bit Out of My Drill?
Hey, wanna know how to get the drill bit out of your drill? Prioritize Safety Measures by unplugging it first. For Bit Care, gently twist or pull the bit off without forcing it.
Do Nail Drill Bits Need to Be Replaced?
Hey, did you know 80% of nail techs replace bits yearly? When considering if nail drill bits need replacing, check Bit Lifespan and Wear Indicators like dullness or reduced effectiveness to maintain quality work.
How to Change Drill Bit Without Tool?
Hey, wanna know how to change a drill bit without a tool? Use DIY methods by twisting the bit off gently. Follow safety tips—keep fingers clear and make sure the drill’s unplugged first!