To screw into wood without a drill, first create a pilot hole using a small nail and hammer. Remove the nail with a claw hammer or pliers, then select a screw with a shank slightly larger than your pilot hole. Use a screwdriver matching your screw’s head type (Phillips or flathead) and apply firm, steady pressure while turning clockwise. For harder woods, you can use a chisel struck with a hammer to start your hole. These traditional techniques offer reliable results when power tools aren’t available.
Key Takeaways
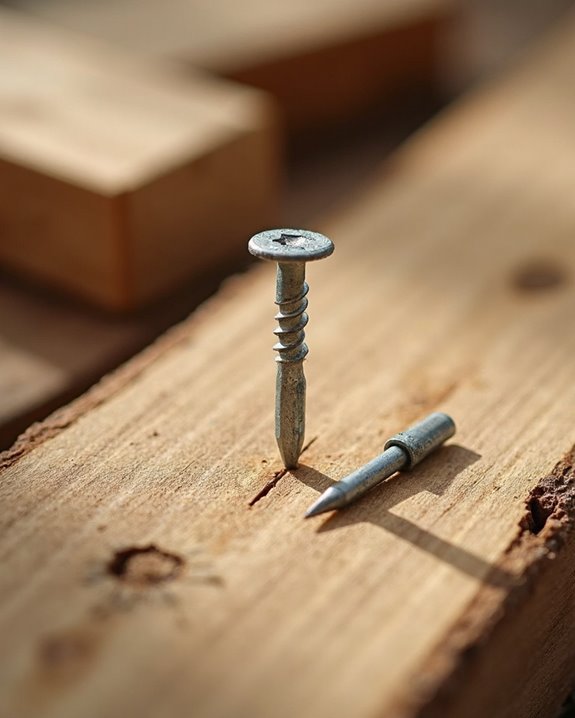
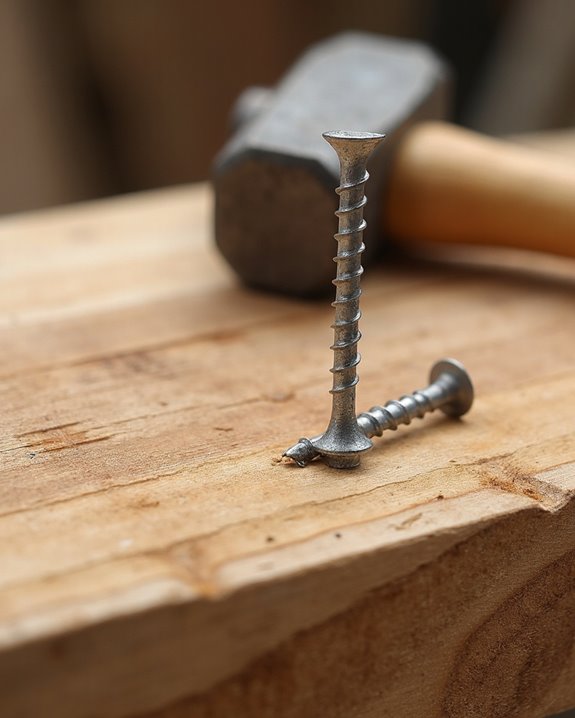
- Create a pilot hole with a small nail and hammer before removing it with a claw hammer or pliers.
- Choose screws with shanks slightly larger than the pilot hole to ensure proper grip.
- Use a screwdriver with a matching tip (Phillips or flathead) and sufficient handle for proper torque.
- Position the screw and apply steady pressure while turning clockwise until flush with the surface.
- For harder woods, use a chisel at 30° angles or heated rod method to prepare holes in softer woods.
Essential Tools and Materials for Manual Fastening
The right collection of hand tools makes all the difference when you’re installing screws without a drill. You’ll need a hammer to create a pilot hole by tapping a small nail into the wood, which guides your screw and prevents the wood from splitting during installation. Select nails that match your screw’s diameter for ideal guidance.
A screwdriver with the appropriate tip (Phillips or flathead) is essential for turning the screw securely into the prepared pilot hole. The screwdriver’s handle should provide sufficient grip for manual torque application. You’ll also need a claw hammer or pliers to carefully extract the pilot nail before inserting your screw. Choose screws with shanks slightly larger than your pilot hole for best fastening strength, ensuring they’ll remain firmly anchored in the wood without requiring power tools.
The Chisel Technique for Creating Holes in Wood
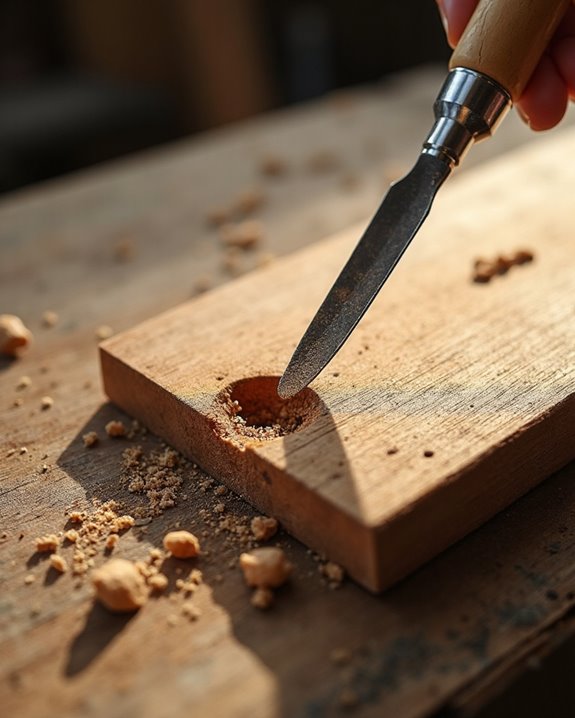
A surprisingly versatile approach to creating holes without power tools, the chisel technique offers precision when you’re working with wood that’s too hard for simple nail pilots. Position your chisel perpendicular to the wood surface and strike it using a hammer to create an initial cut, making sure your chisel is sharp for clean results.
To form a small hole without a drill, continue striking the chisel in a circular pattern, gradually deepening the channel with controlled force. For more efficient material removal, angle the chisel at 30° and make light strikes to clear the center. When working with softer woods, you can turn the chisel in a screwing motion to create precise openings. This methodical approach guarantees clean holes while maintaining control over size and placement.
Using a Hammer and Nail Set for Accurate Placement
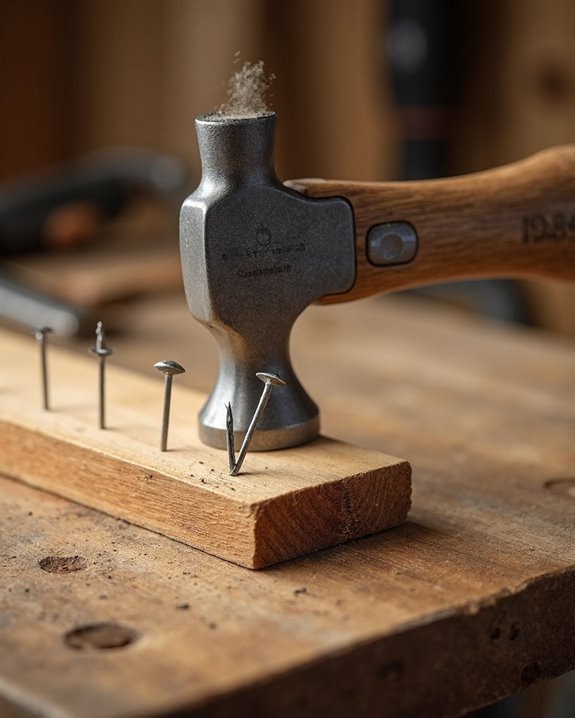
Precise nail placement begins with selecting the right nail size for your wood project, ensuring you’re matching the nail length to approximately 2.5-3 times the thickness of the material you’re joining. Position the nail exactly where you want it, then hold it firmly between your fingers while delivering gentle taps with your hammer to create a small dent and set the nail upright in the wood.
Once the nail is started, continue with controlled hammer strikes until it’s nearly flush with the surface. For a professional finish, switch to a nail set tool, placing its tip on the nail head and tapping it with your hammer to drive the nail slightly below the surface. This technique helps prevent damage to the wood while making sure your nail is properly countersunk at a depth of 1/16 to 1/8 inch.
Alternative Methods: Hollow Metal Punch Approach
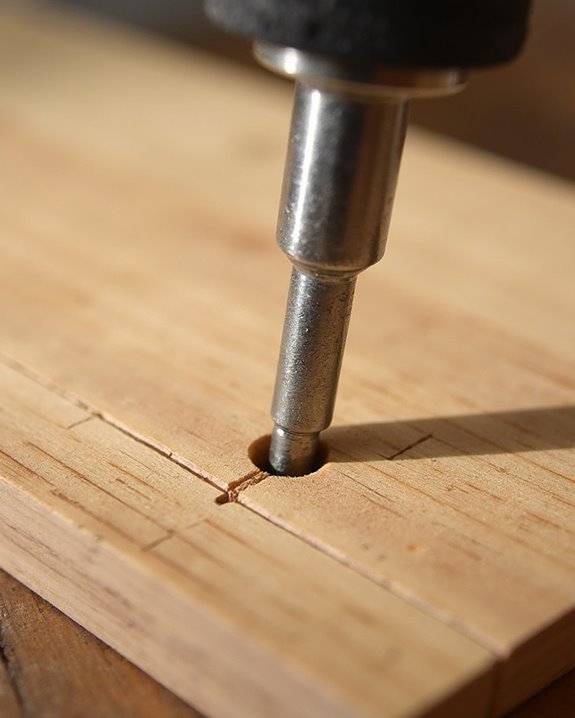
Woodworkers without access to power tools can rely on another effective technique: the hollow metal punch approach. For soft, thin woods less than 1/2 inch thick, especially pine with straight grain, a hollow metal punch creates precise small-diameter holes without splitting. Select a punch that matches your desired hole size, typically between 1/8 and 1/4 inch in diameter, and position it perpendicular to the wood surface. Strike the punch with controlled, even hammer blows to cleanly penetrate the material, preventing wood from splitting while creating a perfect pilot hole. After punching through, inspect the hole for smoothness and use it to insert screws manually, ensuring the hole diameter is slightly smaller than the screw shank for ideal grip. This method makes a small, clean hole without requiring electrical power tools.
The Heated Rod Method for Burning Clean Holes
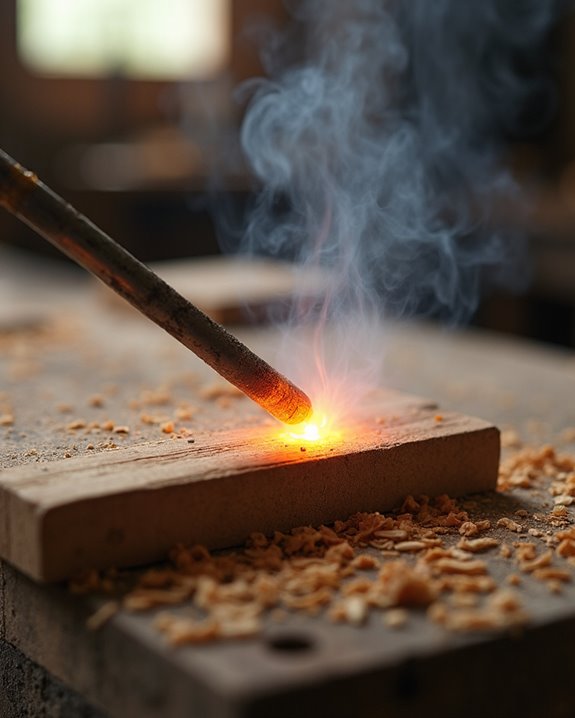
For those seeking another solution without electrical tools, the heated rod method presents a time-honored technique that creates clean holes through controlled burning. This approach works best with soft woods, where you’ll heat a metal rod to its maximum temperature, file one end to a point, and carefully insert it into your marked spot.
To increase efficiency, spin and wiggle the rod to create friction, removing material without damaging the surrounding wood fibers. When the rod cools, reheat it before continuing to maintain consistent burning performance. After completing the hole, scrape away charred residue to achieve clean edges.
Among traditional methods, this technique offers precision for small-diameter holes, producing smoother results than impact-based alternatives while requiring minimal tools—perfect when modern conveniences aren’t available.
Traditional Bow Drill Technique for Friction-Based Holes
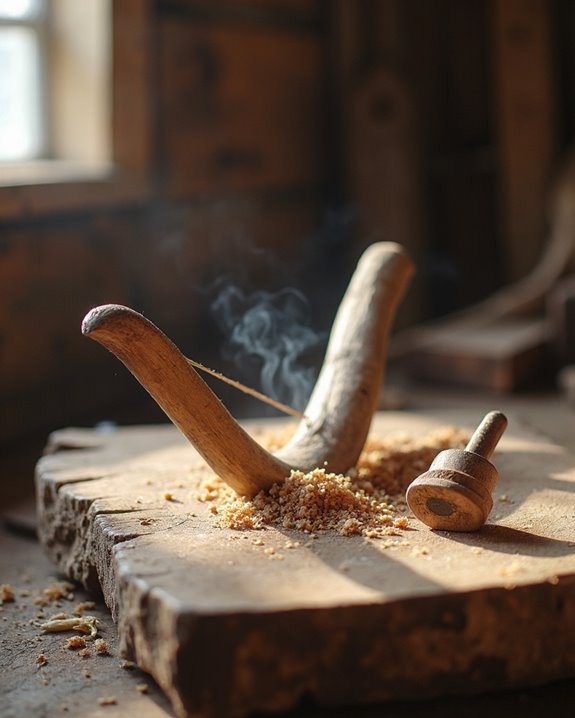
The traditional bow drill represents one of humanity’s oldest methods for creating holes without modern equipment, dating back thousands of years when our ancestors needed practical solutions for woodworking. This technique requires a bow with a taut string and a straight spindle stick positioned at one end of your workpiece in the right direction for ideal friction.
Begin by gently pulling the bow back and forth in a consistent sawing motion, which rotates the spindle against the wood surface. The continuous friction generates heat that gradually burns into the material, creating a clean hole without modern tools. This method will take time and practice to master, as maintaining steady pressure and rhythm is essential for success. It’s particularly effective on softer woods where the friction-based approach works efficiently.
Proper Pilot Hole Creation to Prevent Wood Splitting
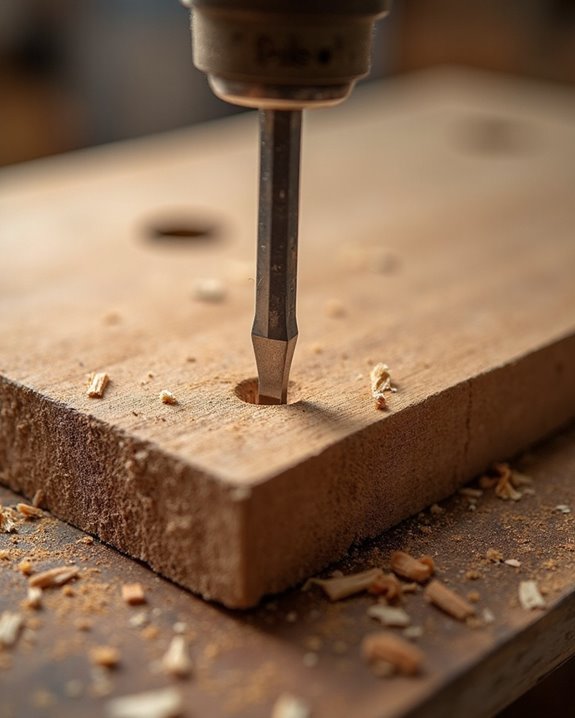
Creating a proper pilot hole stands as perhaps the most essential step when working without a drill, since it greatly reduces the risk of wood splitting while providing a clear path for your screw. Select a nail with a diameter slightly smaller than your screw’s shank, and position it perpendicular to the surface, especially when working near one edge where splitting is most likely to occur. Tap the nail gently to your desired depth, matching the length of your screw, then carefully remove it using pliers.
This technique can reduce splitting in hardwoods by up to 50% compared to direct insertion. When the screw is driven into this pre-formed channel, it encounters less resistance, preventing the wood from developing stress cracks that typically occur when fibers are forced apart without preparation.
Manual Screwdriving Techniques for Various Wood Types
Successful manual screwdriving demands adapting your technique to the specific wood type you’re working with, as each material responds differently to pressure and torque. When working with soft woods like pine, you can directly use a screwdriver without creating pilot holes, applying steady pressure to guide the screw in place. However, harder woods such as oak require pre-hammering a small nail to create a pilot hole, preventing splits while ensuring proper grip.
For medium-density woods like maple, turn your screwdriver slowly with consistent force to avoid stripping the screw head. Always select a screwdriver tip that matches your screw head size, particularly when working with dense hardwoods requiring additional torque. After installation, test the screw’s stability with a gentle twist; in softer woods, screws should hold firmly, while harder varieties might need deeper pilot holes for best results.
Enlarging Existing Holes With Hand Tools
When you’re faced with a hole that’s just slightly too small for your needs, you don’t always need power tools to make adjustments. Manual techniques can effectively increase a hole to the proper drill bit size while working with wood without electricity.
Start by marking your desired diameter with a pencil and ruler, creating a clear guide for your work. Attach coarse sandpaper to a mandrel and rub consistently against the edges, gradually removing material. Make sure you’re filing evenly around the entire circumference to maintain structural integrity. For more precise control, use a hand file in circular motions until you achieve the exact fit required. Take care when using a jab saw as an alternative, as this method may create irregular edges that need additional smoothing afterward.
Frequently Asked Questions
Can You Screw a Nail Into Wood Without a Drill?
Like threading a needle in nature’s canvas, you can’t screw a nail—they’re different fasteners. For screws without drills, focus on surface preparation, nail selection for pilot holes, force application, and durability testing afterward.
How to Screw in a Screw Without a Drill Bit?
Without a drill bit, you’ll need proper screwdriver alternatives based on material compatibility. Apply lubricant options like soap on threads. Use careful torque techniques – twist with steady pressure while maintaining alignment for smooth insertion.
How Do You Nail Without a Drill?
Like a steadfast warrior, you’ll navigate woodworking challenges without a drill. Select nails based on wood thickness, position along the grain, tap gently for stability, then increase force gradually. Always maintain hammer safety with controlled strikes.
What to Do if I Don’t Have a Drill?
If you don’t have a drill, you can create pilot holes using nails and hammers. Consider safety measures for your hands, match screws to material types, and explore budget options like manual screwdrivers or innovative DIY jigs.


