The right nail drill bit depends on your specific task. For acrylic removal, use durable carbide bits at low RPM. Barrel bits excel at shaping and creating smile lines, while safety bits with rounded tops protect the cuticle area. Choose coarse grits for bulk removal, medium for general shaping, and fine for finishing work. Ceramic bits reduce heat buildup during extended use, making them ideal for sensitive nails. Understanding each bit’s purpose guarantees professional-quality results.
Key Takeaways
- Barrel bits are versatile for shaping, removing length, and creating smile lines, but should never contact the cuticle.
- Safety bits with rounded tops are designed specifically for cuticle work without damaging the natural nail plate.
- Choose coarse grit for removing thick enhancements, medium for regular shaping, and fine grit for finishing touches.
- The 5-in-1 bit combines multiple functions including cuticle preparation and under-nail cleaning in a single tool.
- Ceramic bits minimize heat buildup during use, while carbide bits offer exceptional longevity for frequent acrylic removal.
Understanding Nail Drill Bit Materials and Durability
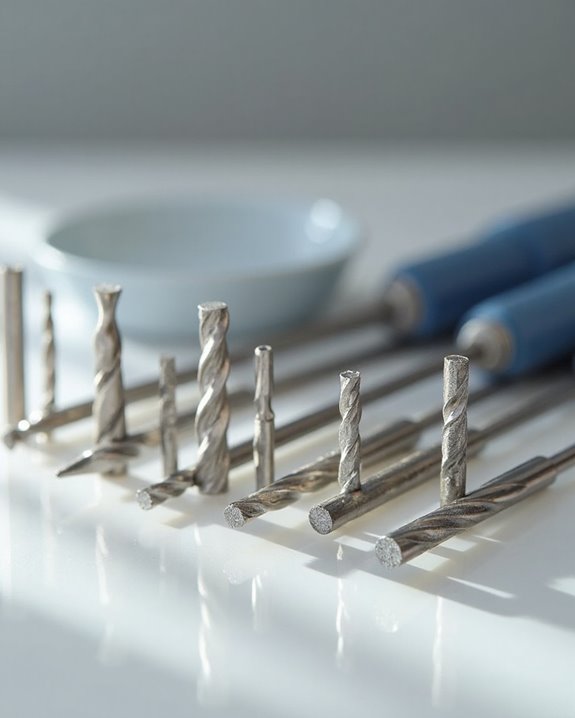
When selecting a nail drill bit, why would you choose one material over another? The variety of materials available—including carbide, ceramic, diamond bits, and mandrel bits—each offer distinct advantages for professional nail technicians. Carbide bits, made of robust metal compounds, deliver exceptional longevity and can withstand frequent acrylic removal tasks without degrading quickly. Ceramic bits feature specialized flute-cut designs that minimize heat buildup, extending their usable life through easier cleaning processes.
Different materials of nail drill bits greatly impact performance and durability. Mandrel bits, typically made of rubber or metal, support disposable sanding bands with limited reusability compared to solid grit options. Gold and silver carbide varieties offer superior durability for cutting applications, though even high-quality bits should be replaced every few months to maintain peak performance during nail services.
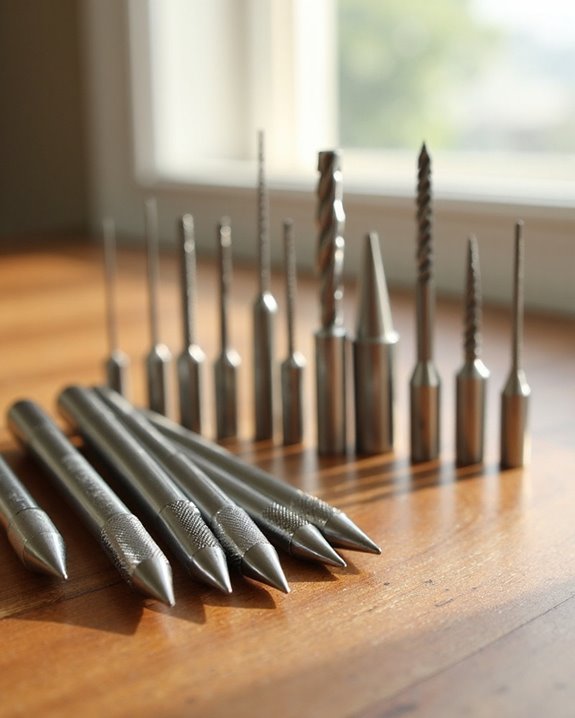
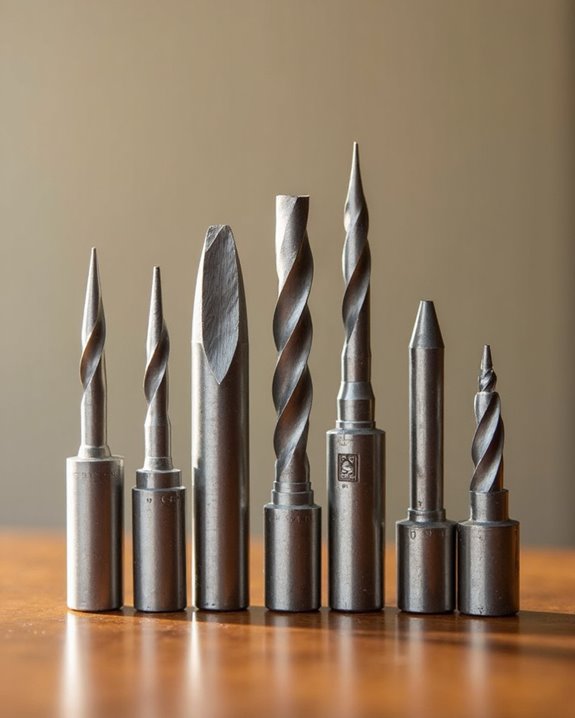
Essential Bit Shapes and Their Specific Applications
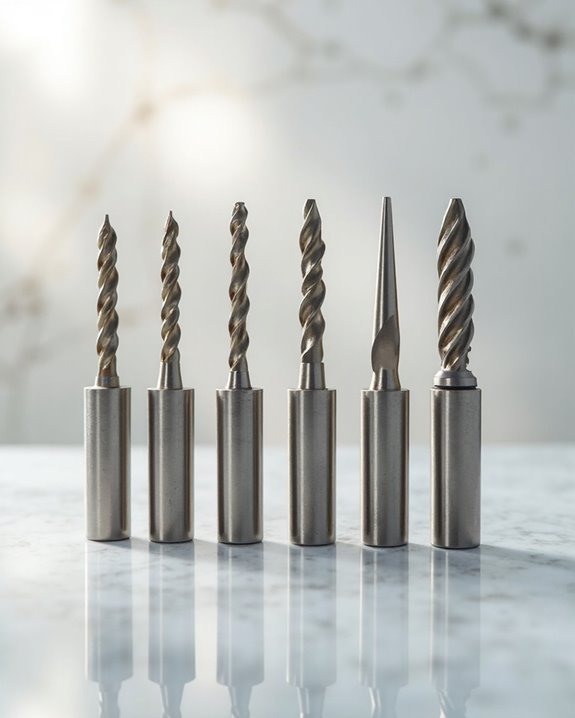
Beyond understanding materials, selecting the appropriate shape for your nail drill bit will greatly impact your technique and results. Barrel bits excel at surface work, including shaping, removing length, and creating smile lines, but should never contact the cuticle area. For those tight spaces under natural nails and sidewalls, the pointed UNC bit (needle bit) provides precise access for cleaning and creating designer holes. When working near the cuticle, choose either a cone bit, which excels at cleaning sidewalls and preparing the cuticle area, or a safety bit with its protective rounded top. The versatile 5-in-1 bit streamlines your workflow by combining multiple functions for cuticle preparation, nail bed smoothing, and under-nail cleaning in one efficient tool. Professionals often recommend tungsten carbide bits for cuticle work due to their superior durability and heat dissipation.
Selecting the Right Grit Level for Your Nail Service
How effectively you’ll complete a nail service often depends on selecting the appropriate grit level for your drill bits. Coarse grit bits, featuring larger abrasive particles, excel at quickly removing thick enhancements like acrylics or dip powder when you’re performing full removals. Medium grit offers balanced abrasion, perfect for maintenance tasks such as infills or repairing lifted areas without damaging the natural nail bed underneath.
For finishing touches, you’ll want to use fine grit bits with their smaller particles, which provide a smooth, polished surface before applying your final products. Understanding the level of grit needed for each service type is vital—coarse bits for heavy removal work, medium texture for controlled shaping, and fine texture for delicate preparation. Having a variety of grits in your kit guarantees you’re prepared for any nail service. For beginners, it’s advisable to use low speeds when working with these grits to maintain control and prevent damage.
Safety Bits and Techniques for Cuticle Work

The delicate skin surrounding your cuticles requires special attention when using a nail drill, which is why safety bits have become essential tools in professional nail care. These specialized bits are rounded at the top, allowing you to work in the cuticle area without damaging the natural nail plate or sidewalls. When using a safety bit in the cuticle region, always maintain low RPM settings to prevent heat buildup and minimize client discomfort.
Safety bits are particularly great for in-fill cuticle work as each design prepares the cuticle area effectively, functioning as a gentle cuticle cleaner that removes loose cuticle tissue. Their specialized shapes enable precise access to tight spaces while their rounded edges prevent damage, making them ideal for beginners who need to clean around nail edges without damaging your clients’ delicate skin.
To achieve salon-quality results at home, opt for bits made from tungsten carbide material, which provides durability and reduces vibration for safer cuticle work.
Specialized Bits for Enhancement Removal and Maintenance
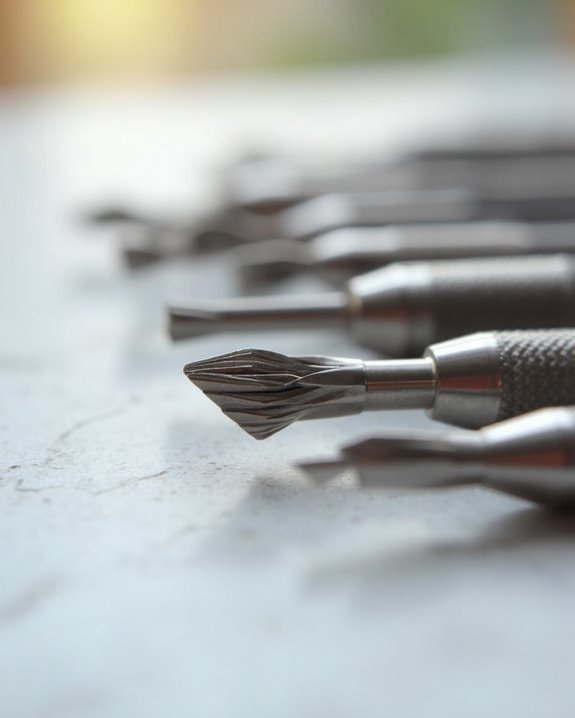
While safety bits excel at gentle cuticle work, maintaining and removing nail enhancements requires a different set of specialized tools in your nail tech arsenal. Carbide Nail Drill Bits offer exceptional durability for removing acrylic nails and can be sterilized for repeated use. When performing backfill cutting during maintenance, reach for a Large Barrel Medium bit that efficiently shapes without entering the cuticle area.
For removing product layers quickly, the Typhoon Coarse bit excels at higher RPMs to remove dip powder, gel, and acrylic enhancements. The versatile 5-in-1 bit combines multiple functions, available in various grits for removing gel and preparing nail beds. If you’re working on maintenance tasks that require precision, a Tapered Barrel design offers control while accessing tight spaces. These specialized nail drill bits guarantee efficient, safe enhancement maintenance.
Proper Cleaning and Care to Extend Bit Lifespan

Maintaining your nail drill bits requires consistent, thorough cleaning after each client, which directly impacts both their effectiveness and longevity. After use, remove product residue from carbide bits with a cleaning brush under warm water and mild soap, being careful to clean between grooves where debris accumulates. You’ll need to soak bits in a liquid disinfectant for 1-2 minutes—not longer, as extended submersion can damage their structure. Unlike reusable tools, sanding bands aren’t meant for multiple uses and should be discarded after each client.
Store your sanitized bits in a dry case, organizing them by type to prevent unnecessary damage. Regular inspection is perfect for cleaning routines; examine bits every few months, looking for dulling signs or uneven surfaces that indicate it’s time for replacement, ensuring ideal performance with every application.
Frequently Asked Questions
What Nail Drill Bits to Use for What?
Like choosing the right tool in your crafting arsenal, you’ll need specific bits for different tasks. Use barrel bits for buffing methods, pointed bits for design tools, cone bits for pedicure bits, 5-in-1 for natural prep, and carbide for acrylic care.
How Do I Know What Drill Bit to Use?
To choose the right drill bit, consider shape matching for specific areas, understand grit levels, and match material suitability. You’ll need to factor in speed correlation with experience. Expert recommendations and tutorial videos can guide your decision.
How to Choose a Nail Drill?
Shine, shape, and smooth—choose your nail drill by comparing speed settings, power source, and price. Consider user feedback on brand options, prioritize safety standards, and verify portability features. Beginners should start slower; professionals need more power. Regular drill maintenance matters.
Which Nail Drill Bit to Remove Gel Polish?
For gel removal, you’ll need a coarse or medium grit bit. Typhoon or diamond-coated bits work efficiently while maintaining bit safety. Control speed settings to prevent heat buildup and focus on proper polish techniques for nail care.