As an Amazon Associate, we earn from qualifying purchases. Some links on this site are affiliate links at no extra cost to you. Our recommendations are based on thorough research and editorial judgment.
How to Use a Nail Drill on Cuticles Safely and Effectively
To use a nail drill on cuticles safely and effectively, you’ll need to start with the right tools and techniques, ensuring precision and protection. Set your drill to a low speed, around 5,000 RPM, to avoid overheating, and choose a long diamond cylinder bit with a rounded top for gentle, even cuticle pushing. Apply light pressure, moving from the center outward to sidewalls, while targeting only dead skin. There’s more to explore for mastering this skill.
Key Takeaways
- Start with a low drill speed of 5,000 RPM to safely push back cuticles without overheating.
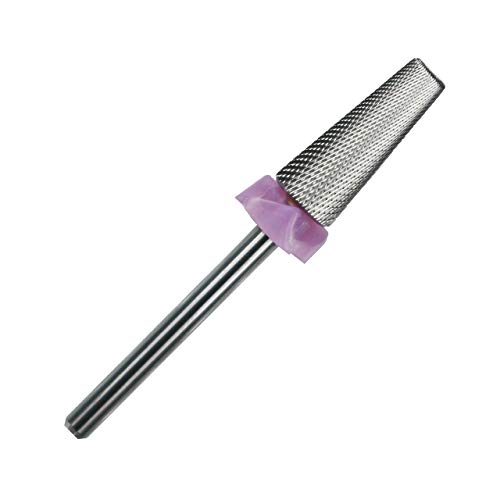
- Use a long diamond cylinder bit for gentle, precise cuticle removal as a beginner.
- Lay the bit flat against the nail center, moving outward to sidewalls with light pressure.
- Choose autoclavable metal or diamond bits to ensure hygiene and prevent contamination.
- Target only dead skin, avoiding live tissue, and dust off workspace regularly for safety.
Understanding the Basics of E-File Cuticle Preparation
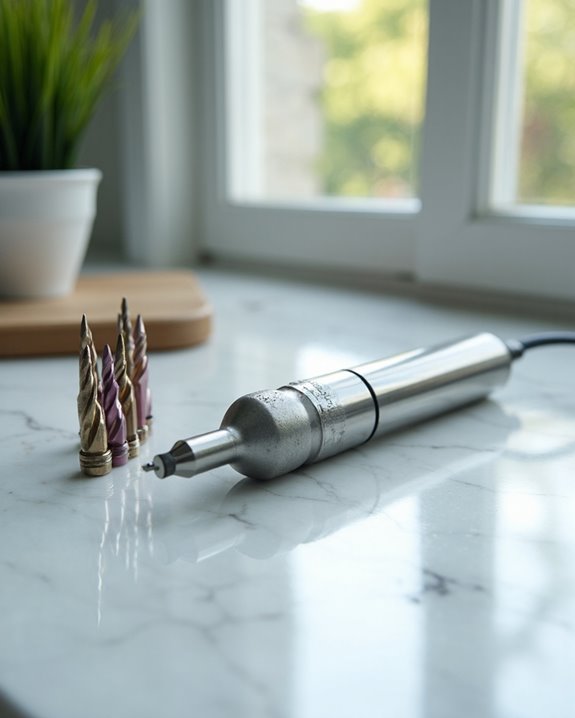
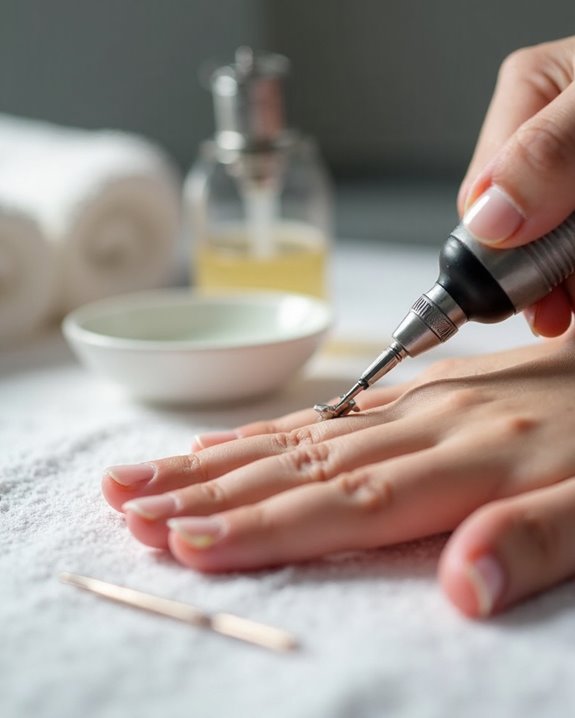
The art of e-file cuticle preparation, a technique often referred to as “machine manicure,” is a specialized skill that’s widely practiced in Eastern Europe and gaining attention in the United States, offering a modern approach to nail care with the right tools and knowledge. As you begin, understand that this method uses an electric file to gently remove dead skin and prep the nail plate, ensuring a clean, polished look with minimal risk when done correctly.
Start with beginner-friendly bits, like rounded-top cylinders, which efficiently push back cuticles without leaving grooves, and focus on diamond materials for their smooth texture and autoclave compatibility, maintaining hygiene standards. Though newer in the U.S., machine manicure, with proper technique, shows no adverse effects, balancing precision and safety for best results. For enhanced comfort and control, many experts suggest using low-vibration carbide bits to minimize hand fatigue during cuticle work.
Exploring Different Cuticle Bit Shapes and Materials
Moving forward from the foundational aspects of e-file cuticle preparation, let’s explore the variety of cuticle bit shapes and materials that can enhance your nail care routine with an electric file. You’ll find options like long diamond cylinders, which, with their rounded tops, offer a gentle surface for pushing back skin and safely removing dead cuticle. Flat-top cylinders, another beginner-friendly choice, provide a broad, even contact area for precise work.
Beyond shapes, materials matter, such as diamond bits with smooth, groove-free textures mimicking a file for efficient skin removal, or metal bits, including the durable carbide bit, which are autoclavable for superior hygiene. Slightly football-shaped bits, meanwhile, access tight areas, refining uneven grooves with detailed precision during cuticle care. Additionally, professionals often prefer tungsten carbide bits for their superior durability and heat dissipation during delicate cuticle procedures.
Recommended Products

Kiara Sky's Drill Bit Family in Black! Now you can purchase 17 of Kiara Sky's Beyond Pro Drill Bits together and achieve the ultimate nail kit.

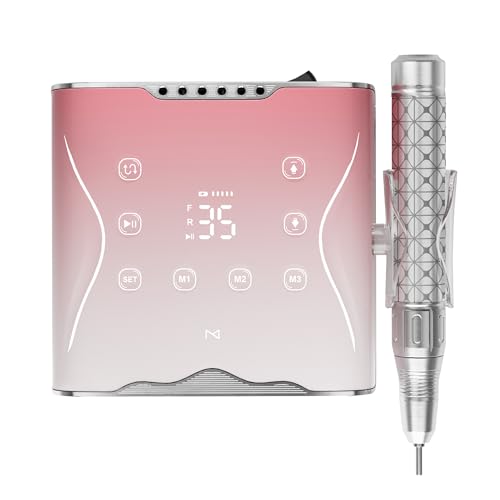
Pro Nail Drill: IMLSparkling Pink & Seamless Touch Screen Crafted with advanced IML technology, this Lavinda professional nail drill showcases a stunning iridescent purple finish that shifts with the light, paired with a seamless touch screen. We've ditching the bulky black panel. It's more than just a cordless nail drill; it's a stylish accessory for your beauty ritual.

Lavinda UV LED Nail Lamp, 54W Rechargeable Cordless Nail Lamp Nail Dryer Gel Polish UV Nail Light with 4 Timer Setting, Professional Quick Dry Curing Lamp with Display Auto Sensor for Salon & Home
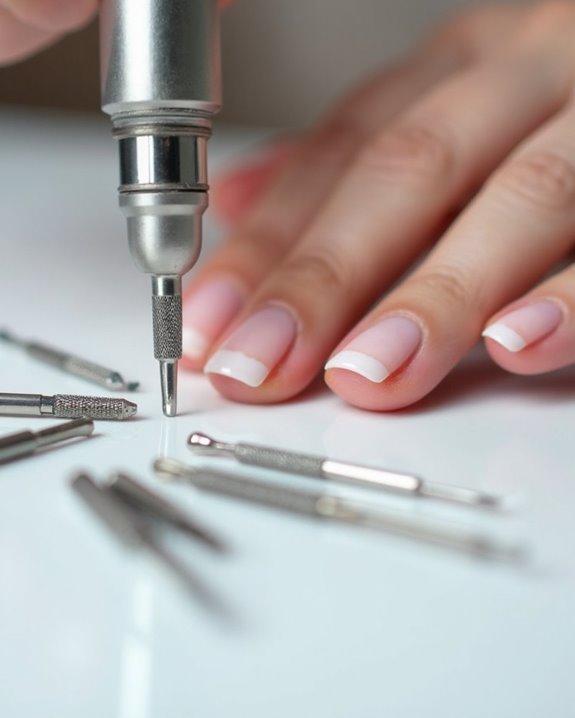
Selecting the Right Bit for Your Needs
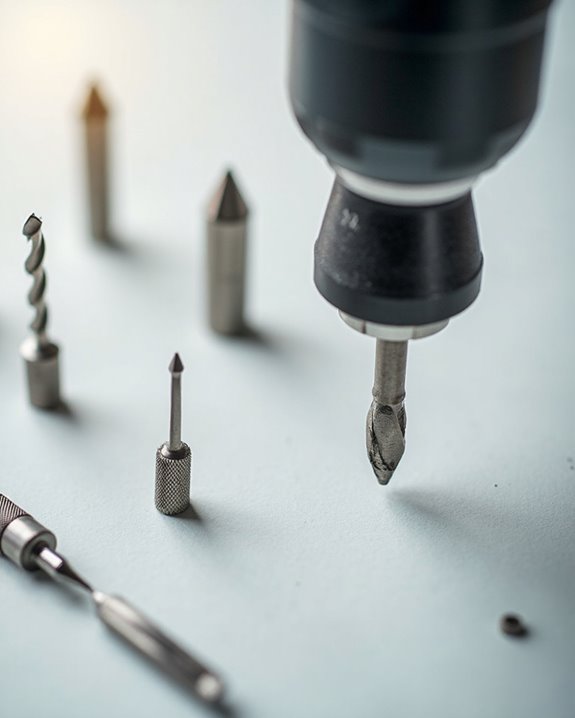
While starting on your journey with a nail drill, you’ll find that selecting the right bit for cuticle work is essential to achieving professional results, securing safety, and maintaining the health of your nails and surrounding skin. For beginners, opt for a long diamond cylinder bit, which offers a gentle, precise approach to working on the cuticle area, and guarantees controlled application without harm. Choose rounded-top or flat-top cylinder bits for basic cuticle pushing, as these shapes provide even contact, prevent damage, and suit most skin removal tasks. Additionally, prioritize diamond material bits for their smooth texture, ideal for efficient dead cuticle removal, and avoid porous corundum bits, favoring autoclavable metal ones for hygiene. Finally, use smaller, football-shaped bits for tight cuticle area refinement. Moreover, to ensure durability and minimal vibration during cuticle tasks, consider opting for tungsten carbide bits that are compatible with standard nail drills.
Recommended Products

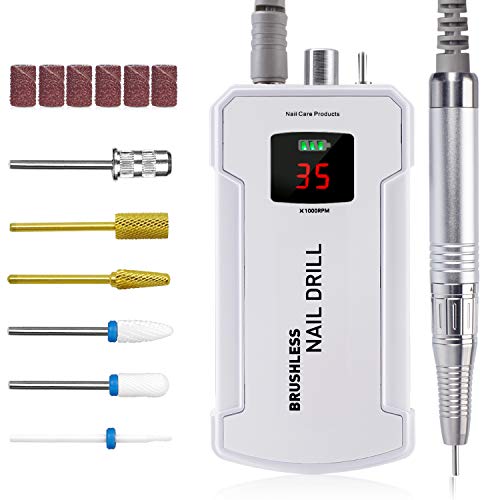
Designed for Professional & Home Nail Tasks: Designed for DIY users and nail techs to remove acrylic and gel, shape extensions, shorten tips, prep natural nails, and handle detailed nail art work at home or in salon settings.Certified by UL, FCC, CE, and RoHS

Built for Home & Salon Nail Tasks: Designed for beginners, DIY users, and nail techs to remove gel and acrylic, shape extensions, shorten tips, and prep natural nails—all with one easy-to-use drill. Certified to meet FCC, CE, and RoHS standards

Update Coreless Motor Nail Drill: Equipped with newest advanced and strong coreless motor, lower vibration and lower heat for smooth and long-time operation. This nail drill machine is 36W, much powerful and stronger than others. This makes it more efficient to do your nails.
Mastering General Application Techniques
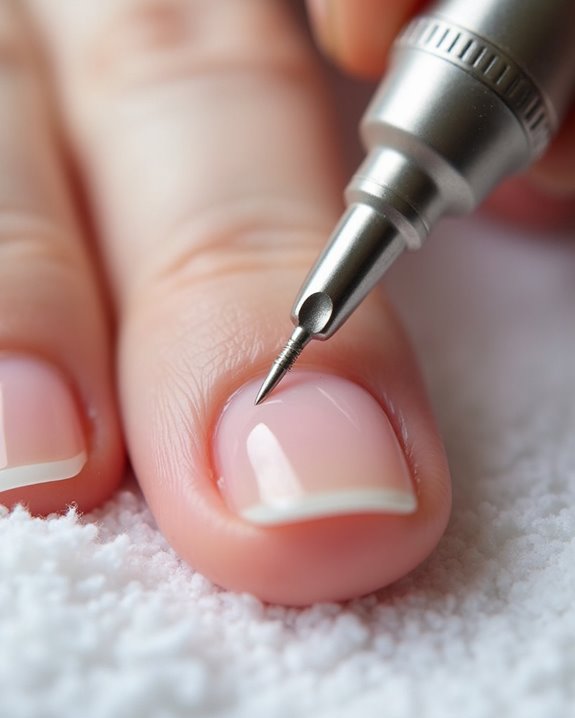
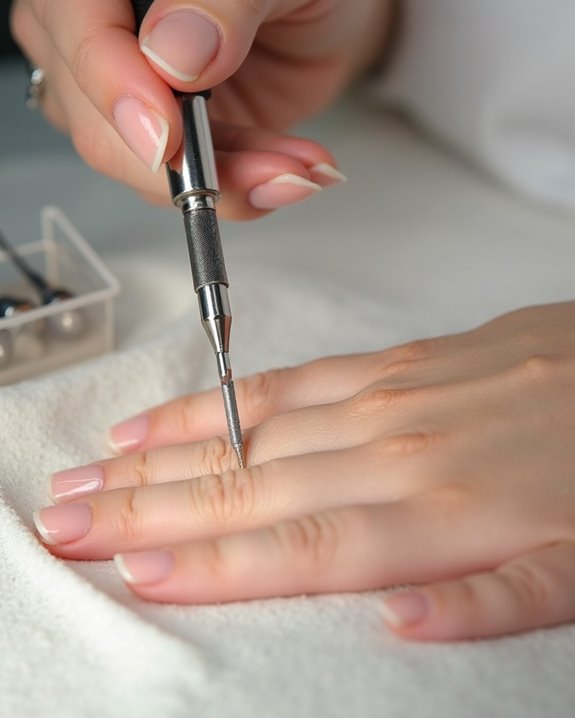
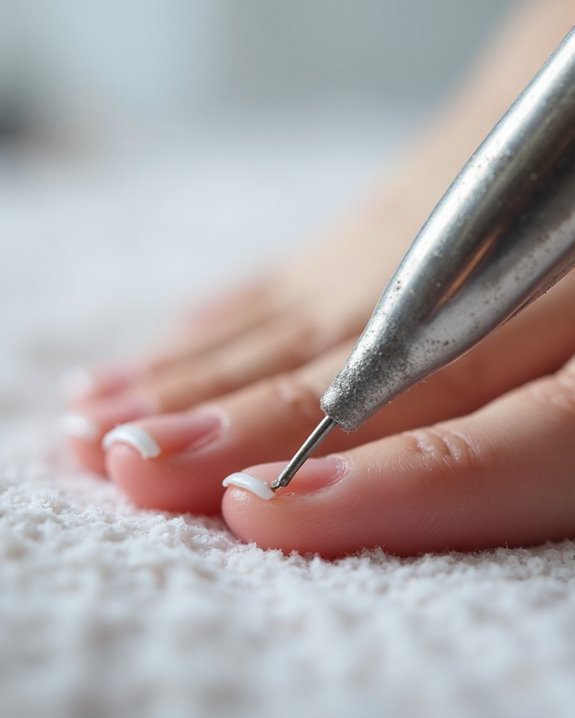
Several key techniques can guide you in mastering the general application of a nail drill for cuticle work, ensuring both safety and precision in your approach. Begin by setting your drill to a low speed, around 5,000 RPM in forward motion, laying the bit flat against the nail to gently push back cuticle skin without cutting. Start at the center of the nail, moving outward to the sidewalls with small, light movements, ensuring even prep and blending of the skin.
Next, apply light pressure, mimicking a cuticle pusher, to blend hangnails on the sidewalls for a smooth finish on the nail. Use reverse motion from center to right, balancing the push, and practice controlled, “wax-on-wax-off” motions for uniform results.
Practicing Safety Measures During Use
As you explore into using a nail drill for cuticle work, it’s critical to prioritize safety measures to protect both the nail and surrounding skin from potential harm. Start by setting your drill to a low speed, ideally around 5,000 RPM, to prevent overheating or damaging the delicate cuticle area during use. Apply light, even pressure with the bit flat against the nail, gently pushing back the cuticle to avoid cuts or separation, and move in small, controlled motions from the center outward to maintain balance.
Next, focus on hygiene by using non-porous metal bits that can be autoclaved, ensuring sanitization and reducing contamination risks. Regularly dust off your workspace for clear visibility, targeting only dead skin, and avoid live tissue contact.
Refining Techniques With Specific Bit Shapes
How can you elevate your cuticle work with a nail drill by mastering the right bit shapes? You’ll find that using specific bits tailored for different nail areas enhances precision and results. Start with a flame-shaped bit at 5,000 RPM to lift cuticles and refine uneven spots, combining skin pushing with shine removal for accurate dead skin elimination. Then, switch to a football-shaped bit to access tighter spaces, using its design to smooth grooves and surfaces with controlled, gentle motions.
Next, try a middle-sized diamond ball bit for polishing, applying light pressure to remove dead cuticle and achieve an even finish. For detailed work, use tapered cylinders with rounded ends, targeting irregularities carefully, while ball bits in various sizes refine the nail plate with hygienic, non-porous materials.
Recommended Products

⭐Tips: Nail Drill Bits is not included, you need to buy bits in addition.⭐💗💗【Smooth & Low Noise】It is a manicure pedicure machine with strong motor, low noise and steady vibration when using.
♥ Size: Double Fine -XXF. (Mix with 3XF + XXF + XF)

[Features] Brand: AIRSEE | Quantity: 1Piece | Color: Silver | Coarseness: Extra Fine-XF+2XF+3XF | Shank: 3/32" | Direction: Left Hand & Right Hand| User: Beginner, Experienced, Nail Tech, Salon
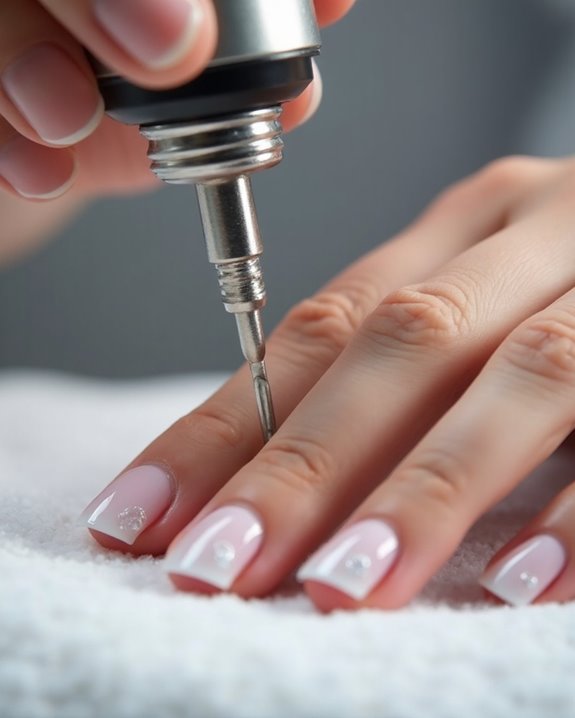
Following a Step-by-Step Preparation Process
Three essential steps can guide you through a meticulous cuticle preparation process using a nail drill, ensuring safety and precision for professional results. First, select a rounded-top cylinder bit, made of diamond material, and set your e-file to a low speed of 5,000 RPM, allowing for gentle, controlled work as advised by experienced nail technicians. Lay the bit flat against the nail’s center, using forward motion with light pressure to push back cuticle skin, mimicking a cuticle pusher’s action without cutting.
Next, move from center to the left sidewall, applying small, light strokes to prep evenly and blend hangnails. Finally, switch to reverse, working center to right, maintaining even pressure, then dust off to confirm smooth, undamaged skin.
Recommended Products
【Adjustable Rotary Speed & Visible Design】The electric nail drill speed is adjustable from 0 to 35000 RPM (MIN to Max) with the speed control knob, which can meet your multiple nail care need at the same time. The smart LCD screen shows the speed signal and electricity makes its actions very visible for perfect set up.
✔ 35,000 RPM HIGH POWER – FAST & PRECISE RESULTS Powerful high-speed performance for shaping, filing, and removing acrylic, gel, and dip powder nails with precision and efficiency.

Dremel 2050-15 Stylo+ Rotary Tool | 5,000-22,000 RPM | Original Kit | For Craft Projects | Pack of 2
The information below is per-pack only
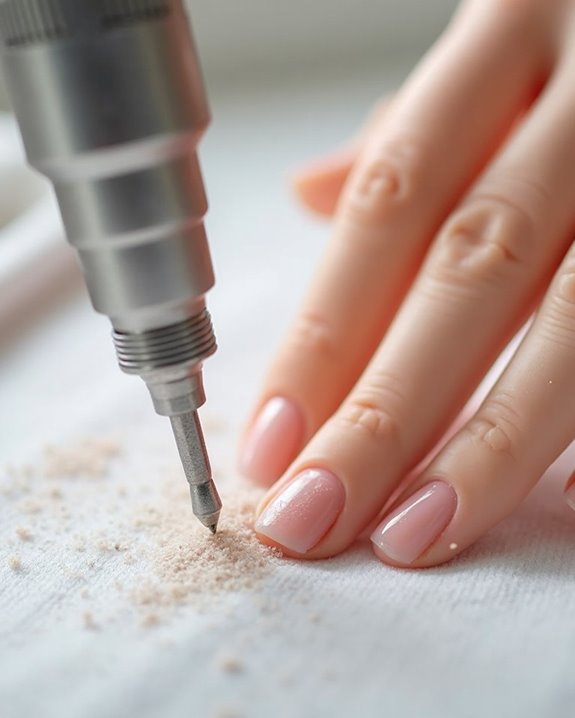
Adopting Best Practices for Optimal Results
While mastering the use of a nail drill on cuticles requires practice, adopting best practices can greatly enhance your results, ensuring both safety and precision during the process. Start by using low speeds, around 5,000 RPM in forward motion, to gently push back cuticle skin, avoiding damage while preparing the nail effectively. Make sure to select long diamond cylinder bits with rounded tops, especially as a beginner, since they offer precision and reduce injury risk when removing dead skin.
Next, apply light pressure, moving the bit from the nail’s center to the sides in small, controlled motions, to maintain an even cuticle prep and preserve the nail’s natural pink look. Always dust off after prepping, verifying smooth, attached skin for ideal hygiene.
Recommended Products

【2-In-1 Integrated Professional System】 Combines a high-performance 30,000 RPM nail drill and a powerful integrated dust extraction system into one sleek, compact unit. Perfect for professional nail technicians seeking a clean, dust-free workspace during heavy filing and shaping.

【Professional Brushless Nail Drill for Longer Use】Upgrade brushless motor, can be used more than 15,000 hours. Low noise and low vibration for smooth and long-time operation. The professional nail drill with a unique safety protection system to avoid the motor excessive temperature rise. Silent without jitter(20-30 dB). The best choice for nail art.

【Powerful 30,000RPM Brushless Motor】Equipped with an powerful brushless motor, enables this electric nail file works smoothly even at a high speed (0-30000 RPM) . Ultra-smooth operation with lower heat and lower noise. The best choice for beginners, professional nail technicians, and nail art enthusiasts alike.
Frequently Asked Questions
Can You Use a Nail Drill on Cuticles?
Imagine your cuticles as a delicate garden, needing gentle care. Can you use a nail drill on cuticles? Yes, you can, but tread lightly. Cuticle health’s essential, so don’t rush—nurture with caution!
How Do You Use Nail Drill Bits for Cuticles?
Hey, wanna know how to use nail drill bits for cuticles? With proper Drill Techniques, you’ll gently push back skin, refine edges, and polish smoothly. Just keep movements light and controlled, alright?
Which Nail Drill Bit to Use to Remove Cuticles?
Hey, imagine your nail drill as a knight choosing its sword! When picking a bit to remove cuticles, explore Bit Alternatives like diamond cylinders or metal ball bits for precision and safety.
How to Use a Cuticle Pusher Safely?
When using a cuticle pusher, you’ve gotta be gentle to maintain Cuticle Hygiene. Don’t force it; lightly push back dead skin. Use controlled motions, and always check for smooth, healthy cuticles afterward.