As an Amazon Associate, we earn from qualifying purchases. Some links on this site are affiliate links at no extra cost to you. Our recommendations are based on thorough research and editorial judgment.

How to Remove Gel X Nails Without a Drill

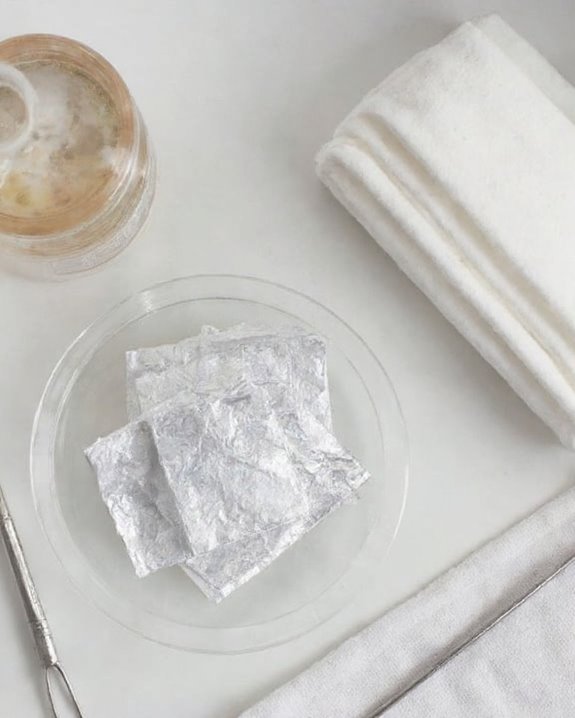
To remove Gel-X nails without a drill, you’ll need to start by filing the top layer with a 180-grit nail file, gently buffing to break the shiny seal and expose the gel beneath. Soak cotton balls in 100% pure acetone, place them on your nails, and wrap tightly with aluminum foil for 15-20 minutes to soften the gel. Scrape off the softened layer using a cuticle pusher, avoiding force to protect your natural nails. Curious for deeper insights?
Key Takeaways
- File the top layer of Gel X nails with a 180-grit nail file to remove shine.
- Soak cotton balls in 100% pure acetone and wrap nails with aluminum foil.
- Let nails soak for 15-20 minutes to soften the gel for easy removal.
- Gently scrape off softened gel with a cuticle pusher, avoiding excessive force.
- Apply cuticle oil post-removal to hydrate and protect natural nails.
Preparing Your Nails for Gel-X Removal
You may be interested
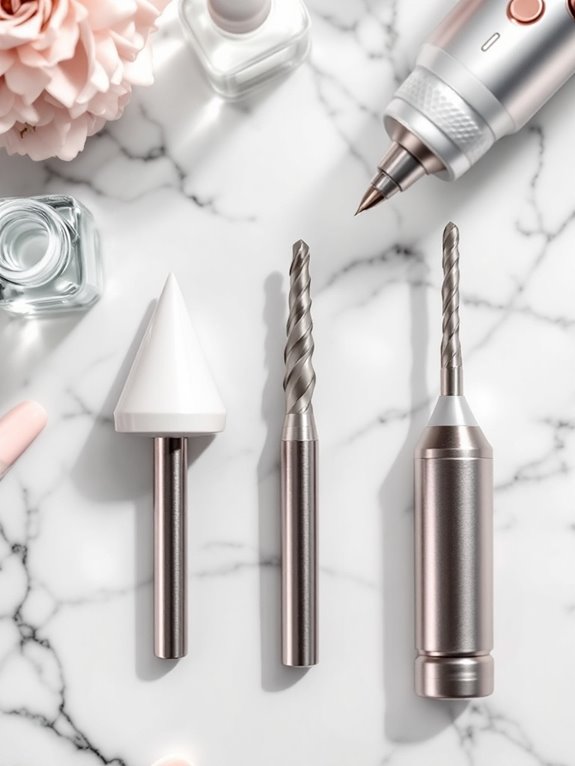
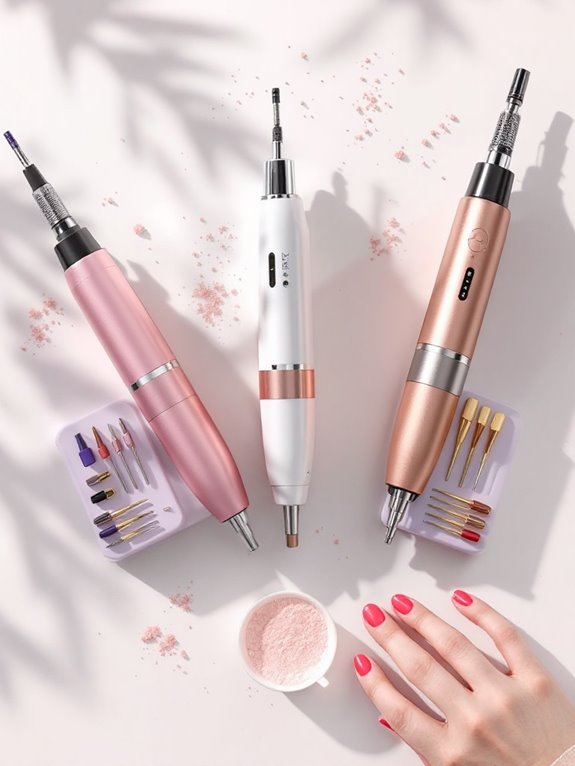
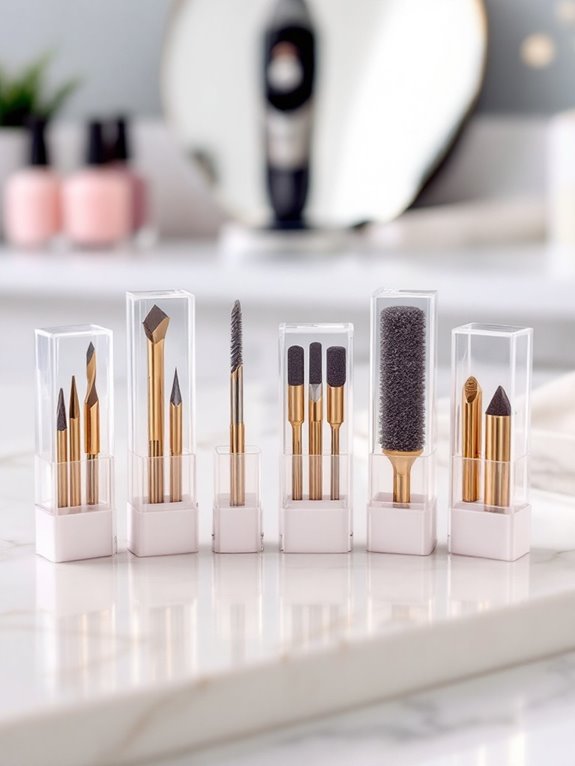
Before you begin on removing your Gel-X nails, it’s essential to prepare them properly to guarantee a safe and effective process. Start by focusing on Nail Hygiene, ensuring your nails are clean, free of lotions or oils, and ready for the next steps, as this allows for maximum acetone absorption during removal. Use a 180-grit nail file to gently buff the surface, removing the shiny top layer, which exposes the polish and glue underneath for better penetration.
Next, create a Cuticle Barrier by applying petroleum jelly around your cuticles, protecting the delicate skin from irritation, and ensuring safety during the process. Check for lifting nails, as this indicates readiness for removal, preventing damage to your natural nail layers. Ensure your preparation tools minimize any potential irritation, much like professional drills that feature low vibration for comfortable use.
Gathering Essential Supplies for the Process
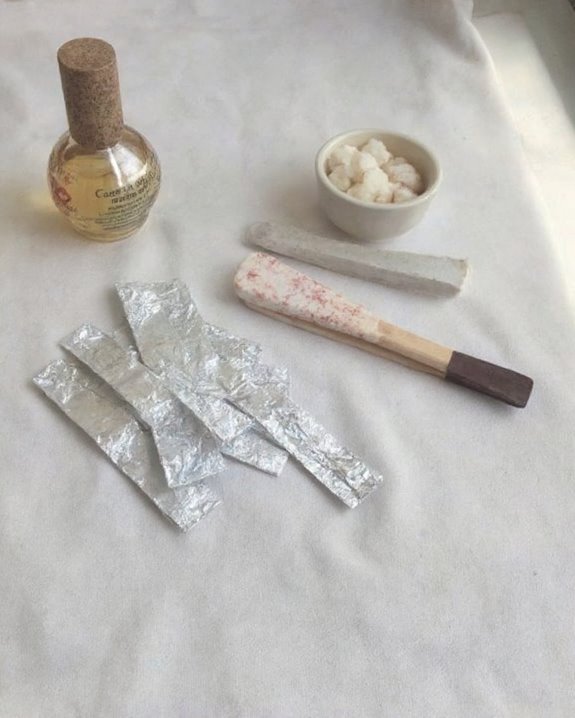
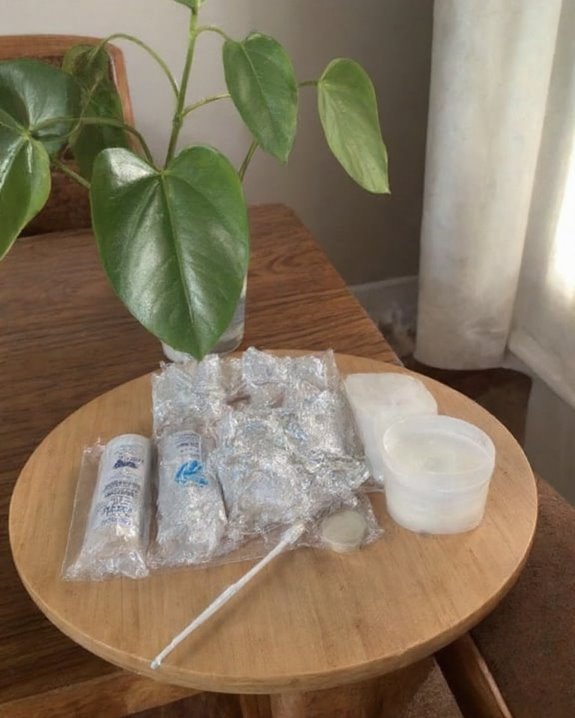
Gathering the right supplies is a critical step in the process of removing Gel-X nails safely and effectively, ensuring you’ve got everything needed to avoid damage to your natural nails. Start with 100% pure acetone, a key solvent for softening the gel, which you can find at reliable Supply Sources like beauty stores or online retailers. You’ll also need cotton balls to absorb the acetone, aluminum foil to secure them around each nail for 15-20 minutes, a 180-grit nail file for preparation, and a cuticle pusher to gently lift the softened gel.
For Storage Tips, keep acetone in a cool, dry place, away from heat, and store tools in a clean, organized container to maintain their condition for future use. Additionally, for more efficient gel removal in future routines, incorporating medium grit options can help achieve professional results without harming natural nails.
Recommended Products

Teenitor Nail Soaking Bowl Kit Meet all Your Needs:Nail polish removers tools kit come with 2* hand Soaking Bowl Acetone Proof, 1* cuticle oil, 1* cuticle pusher, 1* cuticle peeler, 2* nail files, 2*nail buffers, 1*nail brush 10pcs in total. The nail soaking bowl provides with a more convenient nail polish remover and cuticle oil can moisturize hands before and after nail polish remover, taking care of your hands

Professional Nail Polish Gel Remover Tools Set: 10PCS pink nail clips to remove gel polish, 400PCS nail wipes for gel nails lint free with storage box, 1PCS 100ml polish remover push down pump bottle, 1PCS cuticle nipper, 1PCS cuticle pusher, 1PCS cuticle peeler scraper, 1PCS 12ml/0.42oz rose nail cuticle oil and 1PCS nail dust brush. 2PCS 100/180 grit double sided nail files and 1PCS white and green nail polishing buffer. All in one gel nail remover kit.

【Professional Gel Nail Polish Remover】The new gel nail polish remover removes nail polish quickly and easily in 2-5 minutes. You don't need to soak or wrap it with aluminum foil. Just "apply" the gel remover on the nail polish and you can see the nail polish bursting. This is a brand new experience in removing nail polish!
Filing the Top Layer of Gel-X Nails
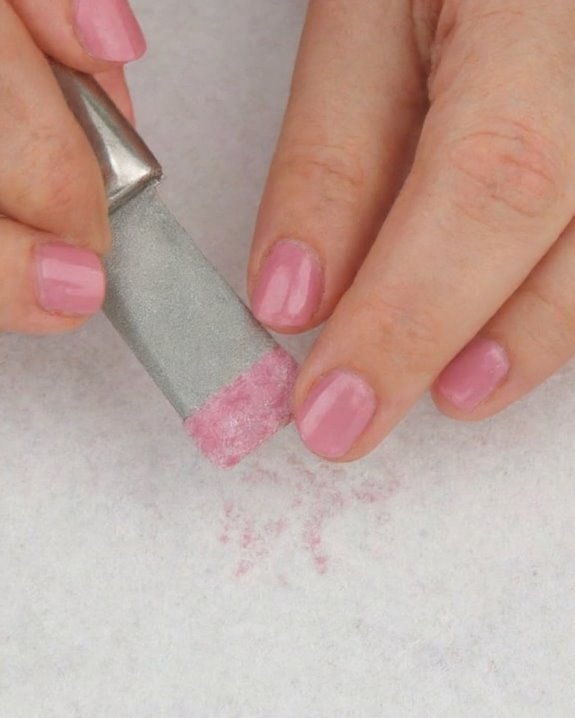
Starting the removal of Gel-X nails begins with filing the top layer, a critical step to guarantee the acetone can penetrate effectively and break down the gel. Grab a 180-grit nail file, ideal for this task, and gently buff the shiny surface to expose the underlying polish and glue, ensuring you don’t press too hard. With Eco Filing in mind, limit yourself to light passes, stopping once the shine disappears, to protect your natural nail plate and cuticles from damage.
Don’t fall for Filing Myths that suggest aggressive buffing is better; over-filing risks brittleness, so work in a well-lit area, check for remaining shine, and re-file only if needed with a few careful strokes to maintain nail health. When selecting your nail file, opt for one that mimics medium coarseness to balance efficiency and safety during gel removal.
Recommended Products

100/180 Grit for Fast Shaping & Smoother Finishing: Designed with dual-sided 100/180 grit, these Makartt professional nail files help quickly shorten length, shape acrylic nails, remove gel polish or dip powder, and smooth thick natural nails with less effort. The 100 grit side works for heavy filing while the 180 grit side refines edges for a cleaner salon-style finish at home

Perfect Nail File Size: Half-moon shaped 100/180 grit nail files. Double Sided emery boards for nails - Rough up the hard fingernails and toe nails in 100 grit, and use 180 grit smooths up your nail edge with refined shape. Keep the nails beautiful all the time

Perfect Nail File Size - Half-moon shaped 180/240 grit nail files. Double Sided emery boards for nails - 180 grit files are commonly used to shorten and shape natural nails; 240 grit is commonly used to prep nails, filing weak or thin nails, or buffing. Keep the nails beautiful all the time!
Soaking Nails With Acetone and Foil Wraps
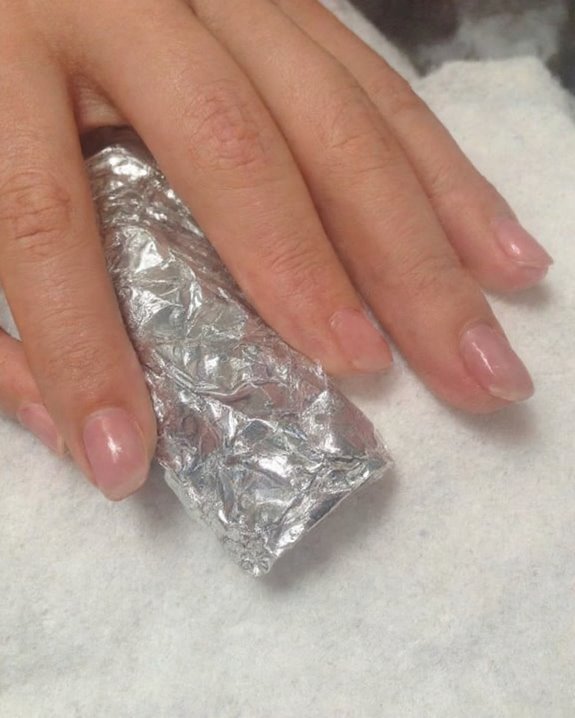
After you’ve filed down the top layer of your Gel-X nails, it’s time to move on to the next essential step, soaking them with acetone and foil wraps, which helps break down the remaining gel for safe removal. Using the Foil Technique, soak cotton balls in 100% acetone, place them on each nail, and wrap tightly with aluminum foil to guarantee the acetone penetrates effectively.
For Acetone Safety, leave the wraps on for 15-20 minutes, monitoring closely to avoid over-soaking, which can dry out your nails. If needed, re-soak for 5-10 minutes, and consider placing hot towels over the foil to enhance heat, while watching for overexposure. After the recommended time, carefully remove the wraps to check progress.
Recommended Products

400 pcs Nail Foils: The set contains 400 pcs nail polish remover foil nail wraps, each one is 9 x 6.5 cm/3.5 x 2.6 in, they can easily cover fingers and toes, sufficient quantity to meet your daily nail polish removal needs
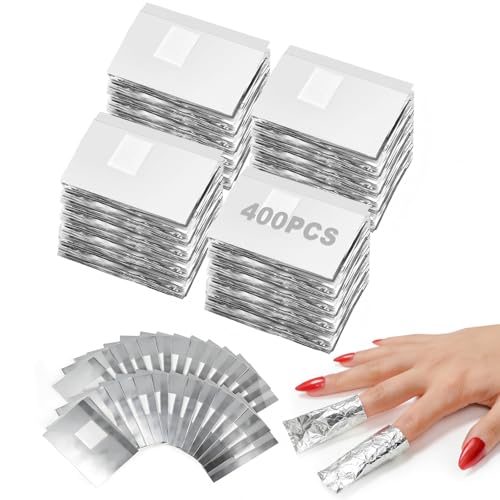
400 PCS HIWRBDTI LARGE QUANTITY - FITS FINGERS & TOES: Pre-cut Nail Foils (2.56×3.54 inches) with Lint-free Cotton Pads (1.18×0.79 inches). Covers Fingernails and Toenails Easily. Ample Quantity for Daily Home DIY, Nail Salon Use or Travel Backup
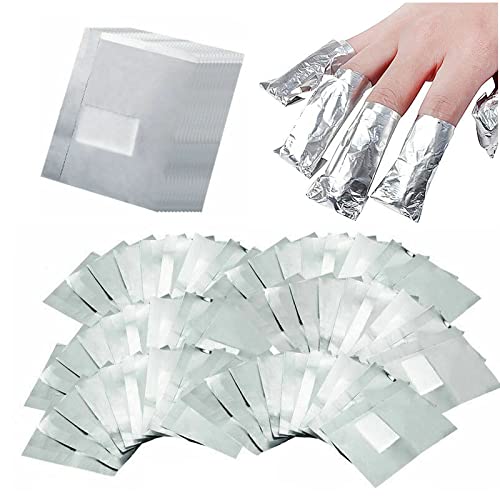
400 Pieces Set -- The package includes 400 pcs foil nail wraps, enough for your daily nail polish removal. Enough for your daily use. 【Please Note: the acetone is not included.】
Gently Scraping Off the Softened Gel Layer
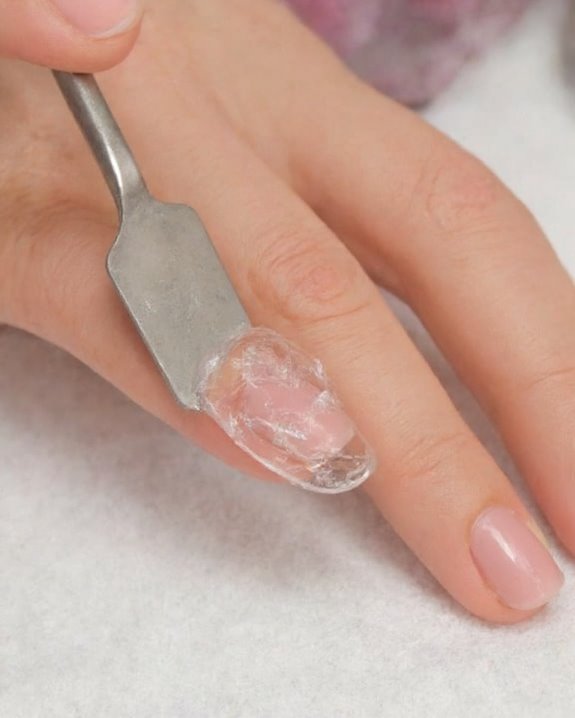
Begin the process of gently scraping off the softened Gel-X layer with careful precision, making sure you protect your natural nails from unnecessary stress or damage during removal. After soaking in acetone for 15-20 minutes, use Scraping Tools like a cuticle pusher or a 180-grit nail file, starting near the cuticle base, to lift the gel carefully without harming the nail plate or surrounding skin.
As part of Prevention Methods, apply petroleum jelly around cuticles before scraping to shield skin from acetone exposure, and if the gel resists, re-soak for 5-10 minutes to soften it further, avoiding any forceful pulling. Work slowly with these tools, maintaining control, to make sure the natural nail remains intact during this delicate step.
Buffing Nails to Smooth the Surface
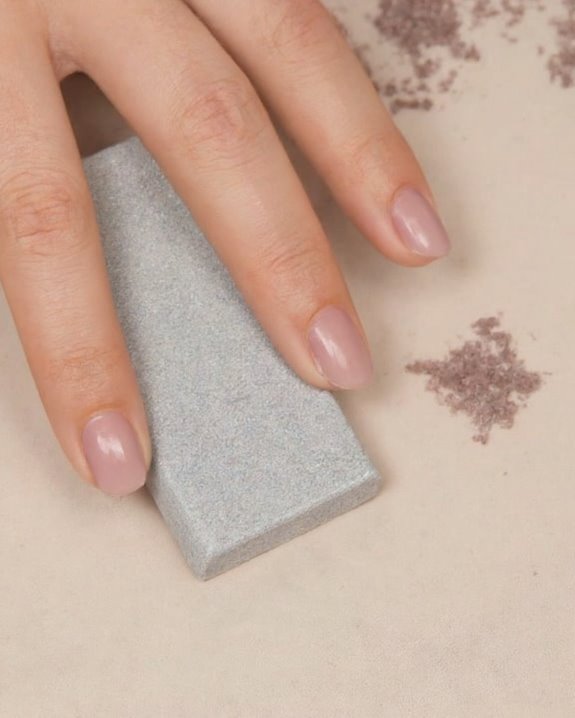
Once you’ve gently scraped off the softened Gel-X layer, it’s time to focus on refining your nail surface through buffing, a key step to guarantee a polished and healthy finish. Buffing, when done right, guarantees your nails are free of residue and uneven texture, setting the stage for a smooth base.
Using proven Smoothing Techniques, grab a 180-grit nail file, which is ideal for gentle abrasion, and buff in one direction to avoid weakening your nail structure. With effective Buffing Methods, apply light pressure to remove leftover Gel-X material, targeting the top layer to eliminate snags, and work systematically across each nail. This final step, if performed carefully, reduces irritation risks, leaving your natural nails even and ready for the next phase.
Moisturizing and Nourishing Post-Removal
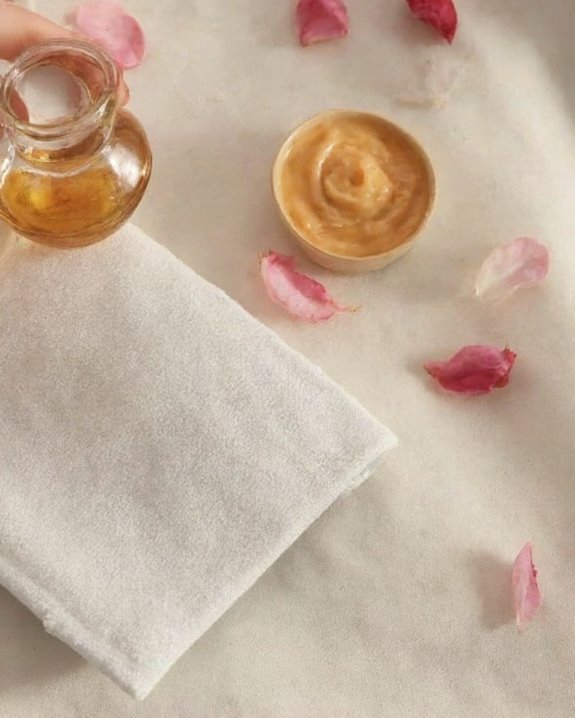
While the process of removing Gel-X nails can leave your nails vulnerable, prioritizing moisturizing and nourishing them post-removal is essential to restore their health, strength, and natural flexibility. After removal, start by washing your hands with soap and water to clean residues, then apply cuticle oil to hydrate cuticles and prevent damage, supporting healing.
Focus on Oil Selection by choosing natural options like jojoba, coconut, olive, or vitamin E oil, which provide deep hydration, combat dryness, and maintain nail flexibility. Incorporate Routine Maintenance by applying cuticle oil daily to replenish natural oils, prevent brittleness, and secure long-term recovery. Lightly buff your nails to smooth the surface, allowing better absorption of these nourishing products, and oil regularly to keep them strong and bendy.
Recommended Products

Nourishing & Hydrating Formula: Infused with Vitamin E and Jojoba Oil, this revitalizing nail and cuticle oil deeply hydrates and nourishes, promoting healthier, softer cuticles and nails.

ADVANCED THERAPY FOR DRY HANDS; Give your cuticles some much-needed love and care; Our Vitamin-infused oil conditioner deeply penetrates your skin with moisture, working to prevent peeling, while healing damaged, cracked nails and hands

Exploring Alternative DIY Removal Techniques
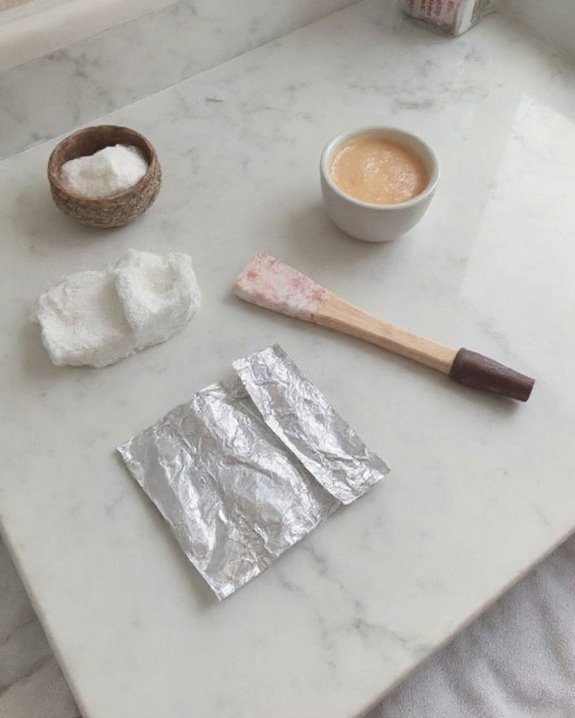
As you begin on removing Gel-X nails without a drill, it’s essential to understand the step-by-step process of alternative DIY techniques that can effectively break down the gel layers while protecting your natural nails from undue stress. Start by filing the top coat with a 180-grit nail file to expose the polish and glue, ensuring acetone can penetrate easily.
Next, try eco friendly methods like soaking cotton balls in 100% acetone, wrapping each nail in foil for 15-20 minutes, and gently prying off softened gel with a cuticle pusher. For herbal alternatives, mix warm water, dish soap, and cooking oil in a bowl, soaking nails for 10 minutes to loosen gel. Re-soak if needed, using acetone-soaked cotton to remove residue.
Recommended Products

ALL-IN-ONE NAIL CARE KIT: This nail remover kit includes pure acetone nail polish remover, nail soaking bowl and essential nail supplies and manicure tools like nail file, nail buffer block, cuticle pusher, and nail scraper.

Professional Nail Polish Remover Kit: This gel polish remover kit includes 540 lint free wipes, 10 nail soak off clips, a 100ml nail polish remover pump, a 100/180 grit nail file, a 400/4000 grit nail buffer, a triangular cuticle scraper, and a dual-ended nail pusher. Perfect for removing gel nails at home, it eliminates the need for salon visits, saving both time and money

You Will Receive : A 15ml bottle of gel nail polish remover which is great for removing gel nails. Make your nail removal and replacement experience better! Touch of elegance and glamour to your fingertips.
Seeking Professional Help if Needed
If you find that DIY methods for removing Gel-X nails are too challenging, or if your natural nails appear brittle and at risk, it’s wise to seek assistance from a professional nail salon for a safer, more controlled removal process. Expert Removal guarantees that trained technicians handle your nails with precision, using specialized techniques to protect your natural nail bed from damage, and preventing issues like peeling or cracking.
Salon Benefits include affordable pricing, often between $10 and $20 for Gel-X removal, along with immediate care if nails start lifting, which can otherwise lead to brittleness. If damage occurs during DIY attempts, professionals can repair and restore your nails, safeguarding their health and preventing long-term harm with expert solutions.
Frequently Asked Questions
Can You Remove Gel X Without a Drill?
Hey, wondering if you can remove Gel X without a drill? You sure can! Use an Acetone Soak to soften them, and prioritize Filing Safety by being gentle to avoid damaging your nails.
Can You Remove Gel X Nails With Oil?
Ever wondered if oil alone can work miracles? You can’t fully remove Gel-X nails with just oil. Oil efficacy is limited, and skin effects might include dryness, so combine it with other methods.
How to Remove Gel Nail Extensions at Home Without Tools?
Wondering how to remove gel nail extensions at home without tools? You’ve got options for safe removal using natural alternatives like soaking with acetone-soaked cotton or warm water mixtures. It’s easy and gentle!
How to Remove Builder Gel Nails Without Drill?
Wondering how to remove builder gel nails without a drill? File gently, soak with acetone for the right Soak Duration, and scrape softly. Nurture with Cuticle Care, moisturize often, and protect diligently.