Your nail drill likely stops due to overheating from extended use, battery levels dropping below 20-30%, mechanical wear in internal components, debris buildup in moving parts, or automatic safety shutdowns. Symptoms like unusual noises, vibrations, or reduced speed indicate potential issues. Regular maintenance, including cleaning after each use, proper charging practices, and scheduled lubrication, can prevent most unexpected stoppages. Further troubleshooting steps can help you determine whether your drill needs simple maintenance or component replacement.
Key Takeaways
- Overheating from extended operation can trigger automatic shutdown when temperatures reach 40-50°C.
- Battery levels below 20-30% often cause nail drills to stop unexpectedly during use.
- Debris accumulation in the collet or chuck creates friction that jams the drill and halts operation.
- Mechanical issues like worn bearings or damaged motors cause abnormal vibrations that activate safety shutdowns.
- Poor ventilation and dust buildup block airflow, leading to overheating and automatic protective shutdowns.
Common Reasons Your Nail Drill Stops During Operation
When does your trusty nail drill decide to quit mid-manicure? Nail drills stop for several predictable reasons that you can identify and resolve. Overheating is a primary culprit, as drills automatically shut down when they’ve been running too long without proper ventilation, preventing permanent motor damage. If your battery level drops below 20-30%, your device may suddenly power down during use, signaling it’s time for a recharge.
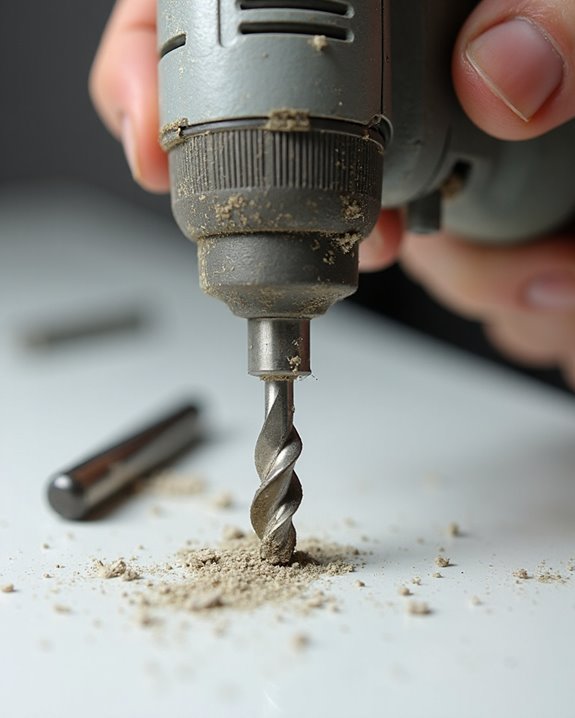
Improper bit installation or debris buildup in the collet can jam the rotation mechanism, requiring thorough cleaning and correct reassembly. Unusual noises before stopping often indicate worn bearings or loose components that need replacement. Additionally, damaged power cords or unstable connections interrupt power flow to your device, necessitating inspection of all connecting elements to restore functionality.
To prevent bit-slipping that leads to stopping, consider using a DRC Replacement Collet Assembly.
Overheating Issues: Causes and Prevention
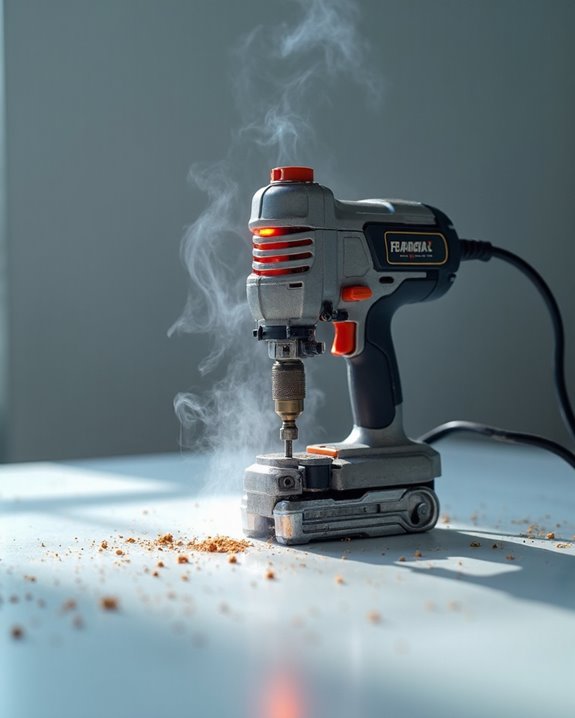
Why do nail drills become too hot during your salon sessions? The primary culprit is extended continuous operation that strains the motor beyond its designed capacity. When you use your drill without breaks, heat builds up inside the handpiece, eventually triggering automatic shutdowns to protect internal components from damage.
Poor ventilation compounds this problem, as trapped heat can’t dissipate properly, leading to decreased performance and potential long-term motor damage. To prevent overheating, always follow your user manual’s guidelines regarding recommended operation times and cooling periods. Take regular breaks after extended use, allowing your device to cool down completely.
Maintain proper airflow by regularly cleaning your handpiece with a soft cloth to remove dust and debris. Stay alert for warning signs like unusual warmth or performance fluctuations, disconnecting the device immediately if it begins overheating. For enhanced protection, consider using drills with smart heat dissipation features.
Power Supply Problems That Affect Nail Drill Performance
Power supply issues represent another major reason nail drills stop working, even when overheating isn’t the culprit. Your electric file requires consistent power delivery to maintain ideal performance during manicure sessions. Poor battery maintenance practices, such as letting charge levels drop below 20-30% before recharging, can trigger unexpected shutdowns during operation. Using non-original chargers with mismatched voltage specifications disrupts stable power flow, causing intermittent stops.
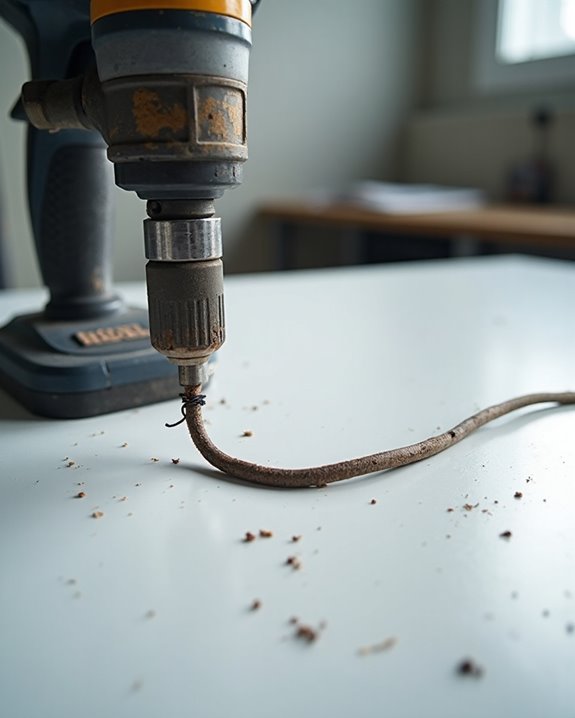
Damaged power cords with fraying or exposed wires create electrical interruptions that halt your device mid-use. Additionally, operating your nail drill while it’s charging can overload the power system, triggering protective shutdowns. If you notice your fully charged device draining rapidly and stopping frequently, this likely indicates a failing battery cell that requires replacement. Regular inspection of power components guarantees reliable performance of your electric file.
To prevent such disruptions, consider using chargers with built-in safety features like short-circuit protection to ensure stable operation.
Detecting and Fixing Worn-Out Components
Identifying worn-out components in your nail drill requires careful attention to several telltale signs that appear during regular use. Listen for grinding or rattling noises during operation, which typically indicate bearing failure that can cause unexpected stops. If you notice reduced speed or unusual vibrations, your motor may be wearing out and require replacement with manufacturer-approved parts.
To keep your nail drill functioning properly, inspect the power cord regularly for fraying or damage, replacing it immediately if defects are found. Check the chuck for signs of wear if bits frequently come loose or don’t lock securely. After extended use, monitor for overheating in the handpiece, as this often signals worn bearings or motor issues. Addressing these components promptly will prevent frustrating interruptions and extend the life of your equipment.
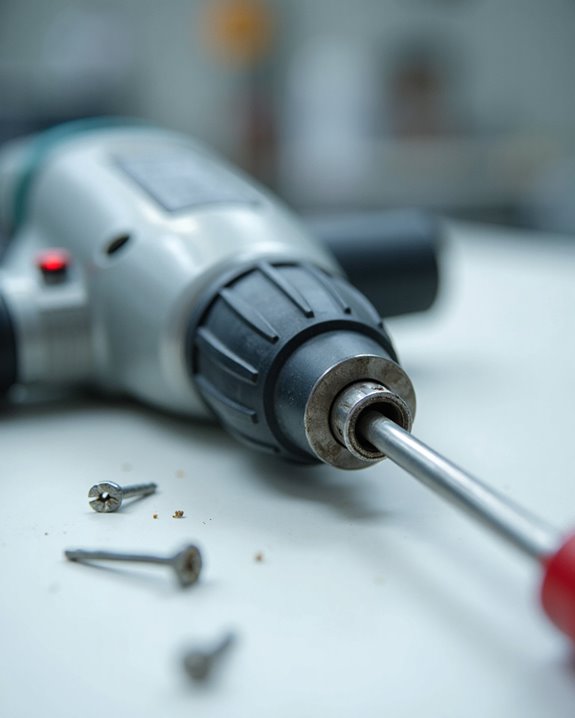
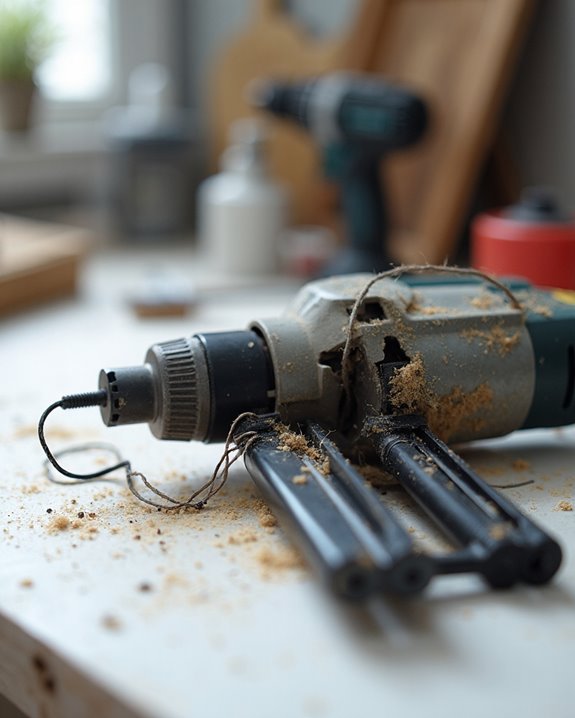
Debris Accumulation: The Silent Drill Killer
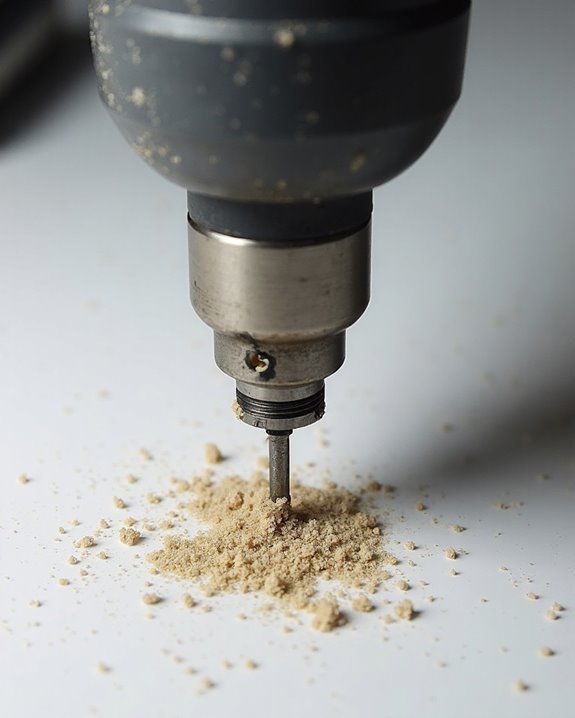
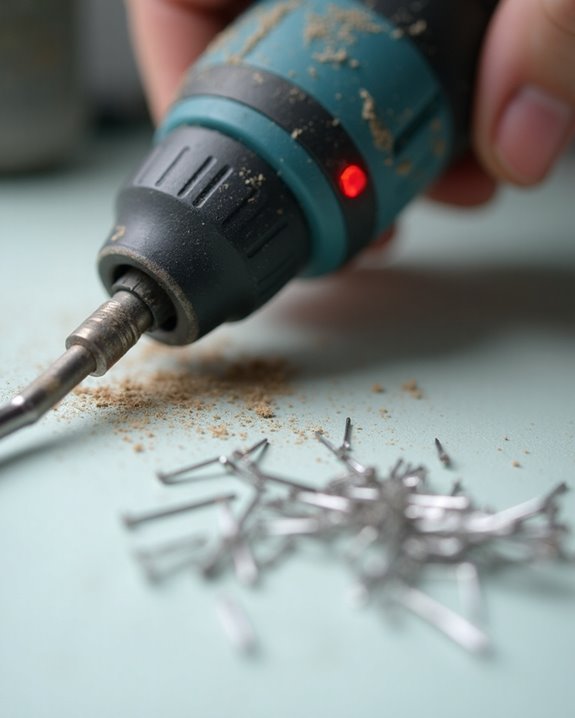
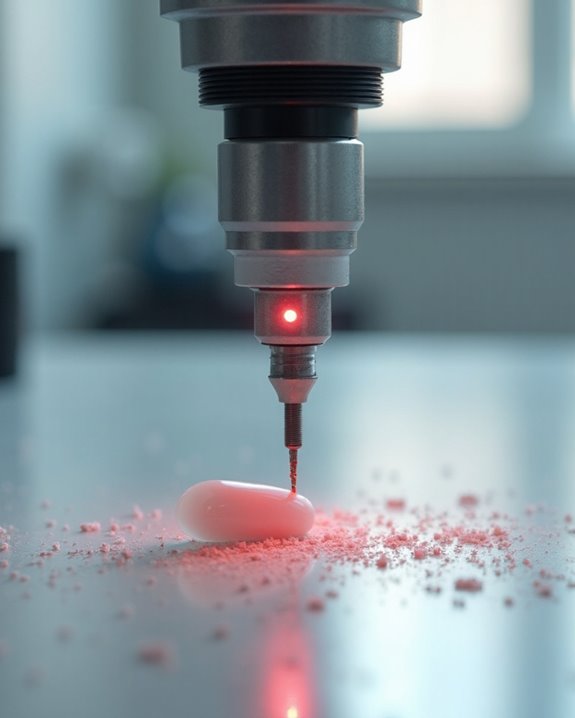
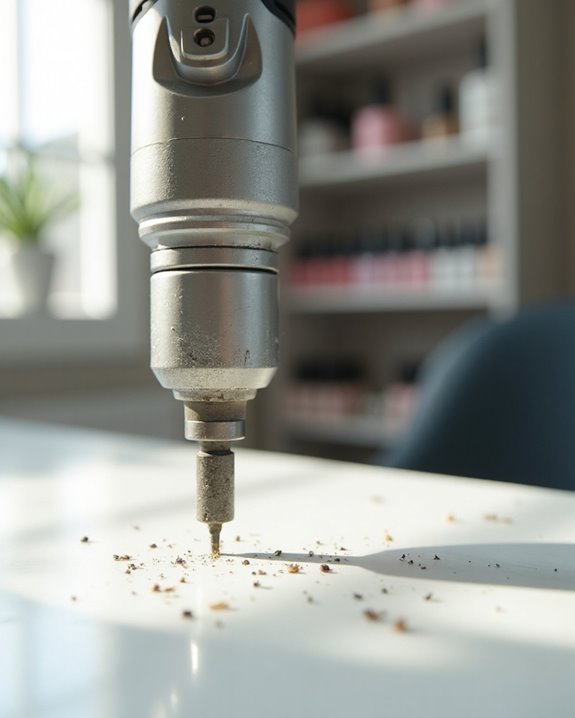
Have you ever noticed your nail drill suddenly stopping mid-service despite having a full battery or being properly plugged in? The culprit might be hiding in plain sight: debris accumulation. When dust and tiny particles from filing with your ceramic nail drill bits collect in the collet or chuck, they create friction that can cause your device to jam unexpectedly.
This buildup doesn’t happen overnight but silently progresses with each use. You’ll often hear warning signs—grinding or rattling noises—before complete failure occurs. These sounds indicate that debris is interfering with the motor’s moving parts. To prevent this, disconnect your device after each use and clean thoroughly with a fine cloth or toothbrush, paying special attention to the handpiece. Regular maintenance prevents the compounding effect of debris that can damage bearings and eventually lead to complete operational failure.
Proper Maintenance Routines to Prevent Interruptions

A thorough maintenance routine forms the backbone of reliable nail drill performance, preventing those frustrating mid-service interruptions that can disrupt your workflow. Start by cleaning your drill after each session, using a soft cloth or brush to remove debris that can cause rotation issues or jamming. Don’t wait until your battery is completely drained—recharge when it reaches 20-30% capacity to avoid sudden stoppages and extend battery life by several months.
Always unplug your device before performing any maintenance checks, and store your drill in a dry location away from potential damage. If you’re not using your drill regularly, inspect it quarterly to verify functionality. Regular lubrication of the handpiece with manufacturer-approved oil reduces friction in bearings and motors, preventing overheating that can cause your drill to stop during lengthy sessions.
Troubleshooting Handpiece Malfunctions
When your nail drill suddenly stops mid-service, you’ll need a systematic approach to diagnose and resolve the issue quickly. Start by checking your power source—ensure proper connection and inspect the cord for damage that could cause intermittent operation. If your handpiece produces grinding or rattling sounds while using a carbide drill bit, this typically indicates worn bearings or loose components that require inspection and possible replacement.
For drills that stop due to overheating, implement regular cooling periods during extended use and verify proper ventilation around the motor. When bits become jammed, disconnect the power, then carefully clean the collet with a soft brush to remove accumulated debris. If these steps don’t resolve the issue, apply manufacturer-recommended lubricant to designated areas, which can restore smooth operation and prevent future mechanical failures.
When to Clean vs. When to Replace Drill Parts
Knowing whether to clean or replace parts of your nail drill saves you both time and money when troubleshooting performance issues. Regular maintenance, including wiping down your handpiece after each use, prevents many common problems before they start. When bits come loose or get jammed, first try cleaning the collet and handpiece with a soft cloth to remove dust and debris buildup.
Watch for warning signs that indicate replacement is necessary: abnormal noises, vibrations, or overheating often signal worn bearings or motor problems that cleaning can’t fix. For power issues, inspect cords and connections—clean if there’s just poor contact, but replace immediately if you notice fraying or exposed wires. Similarly, clean battery contacts when charging problems occur, but if your battery drains quickly after full charges, it’s time for a replacement.
Safety Features That Cause Automatic Shutdowns
Modern nail drills come equipped with sophisticated safety features that trigger automatic shutdowns, protecting both you and your expensive equipment. Your professional nail drill includes thermal sensors that detect when temperatures reach 40-50°C, automatically powering down to prevent motor damage during extended sessions. Battery protection systems activate when power levels drop below 20-30%, preserving battery health and preventing potential malfunctions.
If you attempt to use your drill while it’s charging, safety mechanisms may engage to eliminate electrical risks. These intelligent systems also monitor for mechanical abnormalities, such as jammed bits or unusual vibrations, prompting immediate shutdown to prevent further damage. Additionally, moisture detection features halt operation when dampness is sensed in critical components, ensuring your equipment remains functional by preventing short circuits and electronic failures.
Expert Tips for Extending Your Nail Drill’s Lifespan
Professional nail technicians understand that proper maintenance isn’t just about preserving equipment—it’s about protecting your investment and ensuring consistent, quality service for clients. Your electric nail drill requires systematic care to maintain peak performance throughout its service life. Clean your device after each use with a fine cloth or toothbrush, removing accumulated dust that could cause internal damage. When charging, wait until the battery reaches 20-30% capacity, preventing over-discharging that dramatically shortens battery lifespan.
Handle the handpiece carefully, avoiding impacts that could damage sensitive motors and bearings. Store your equipment in dry areas away from children, with properly positioned cords to prevent strain. Finally, follow manufacturer guidelines for lubrication, applying recommended oil when you notice operational changes or unusual sounds, thereby extending your device’s functional life and maintaining consistent performance.
Frequently Asked Questions
Why Does My Drill Bit Keep Stopping?
While you might blame the motor, bit jamming is often due to improper installation, dust accumulation, worn components, dirt buildup, or overheating. Your drill bit keeps stopping because these issues prevent proper rotation during use.
Why Is My Nail Drill Skipping?
Your nail drill’s skipping causes typically include debris buildup, worn bearings, battery issues below 30% charge, improperly installed bits, or overheating from extended use. Regular maintenance and proper handling will resolve these common problems.
How to Clean Clogged Nail Drill Bits?
First, unplug your drill. Remove bits and gently brush away debris from grooves. For bit cleaning, soak in 70% isopropyl alcohol for 5-10 minutes. Rinse, dry thoroughly, and store properly to prevent future clogs.
Why Is My Nail Drill Overheating?
Your nail drill’s overheating reasons likely include extended continuous use without breaks, poor ventilation around the handpiece, and insufficient maintenance. Remember to follow manufacturer guidelines on operation times and clean debris regularly to prevent overheating.