As an Amazon Associate, we earn from qualifying purchases. Some links on this site are affiliate links at no extra cost to you. Our recommendations are based on thorough research and editorial judgment.
How to Use a MelodySusie Nail Drill: Step-by-Step Guide
To use your MelodySusie nail drill, start by unboxing and inspecting the main unit, charger, and drill bits like fine, medium, and coarse sanding bands, ensuring all components are intact. Set up the handpiece on the stand for stability, install a bit by sliding it into the chuck and twisting right to lock, and power on using the control panel, adjusting speeds from 0-30,000 RPM, starting low for safety. Explore further for detailed techniques.
Key Takeaways
- Unbox the MelodySusie Nail Drill, verify all components, and charge fully for 2-3 hours using the USB charger.
- Attach the handpiece to the main unit securely and install the desired drill bit by twisting right to lock.
- Turn on the device using the power button and start at low RPM, adjusting up to 30,000 as needed.
- Practice on natural nails with a fine sanding band at low speed for safety and control.
- Clean the device after use with a soft cloth and store in a cool, dry place.
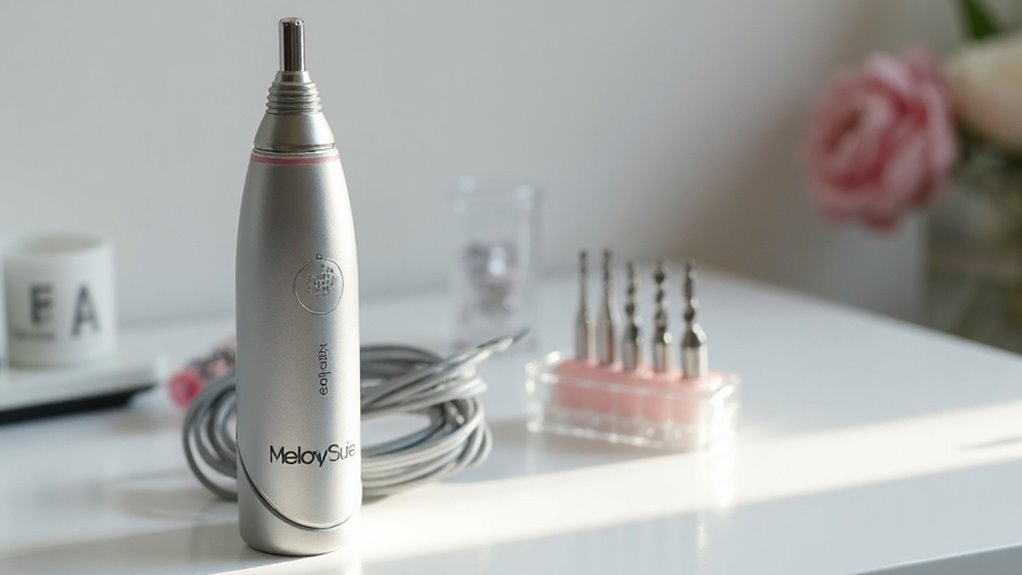
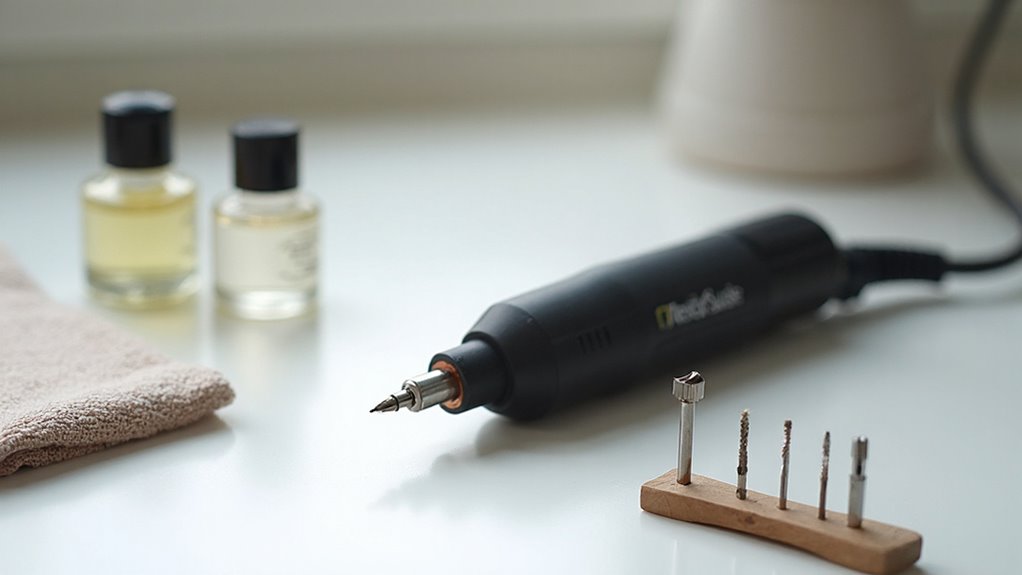
Unboxing Your MelodySusie Nail Drill
When you first receive your MelodySusie Scamander rechargeable nail drill, unboxing it reveals a well-organized package designed for convenience and functionality, complete with all the essential components for professional nail care. The Packaging Material is sturdy and protective, ensuring the contents, including the main device and lightweight hand piece, arrive undamaged. Inside, you’ll find various drill bits, such as fine, medium, and coarse sanding bands, along with a mandrel bit, all neatly arranged for easy access.
If you’re curious about the full experience, watching an Unboxing Video online can showcase the layout before you begin. You’ll also discover a charger for long-lasting use, averaging 3-4 charges yearly, and a user manual with clear, detailed instructions for proper operation and care. The kit also includes a lightweight aluminum handpiece to ensure comfortable handling during sessions.
Recommended Products

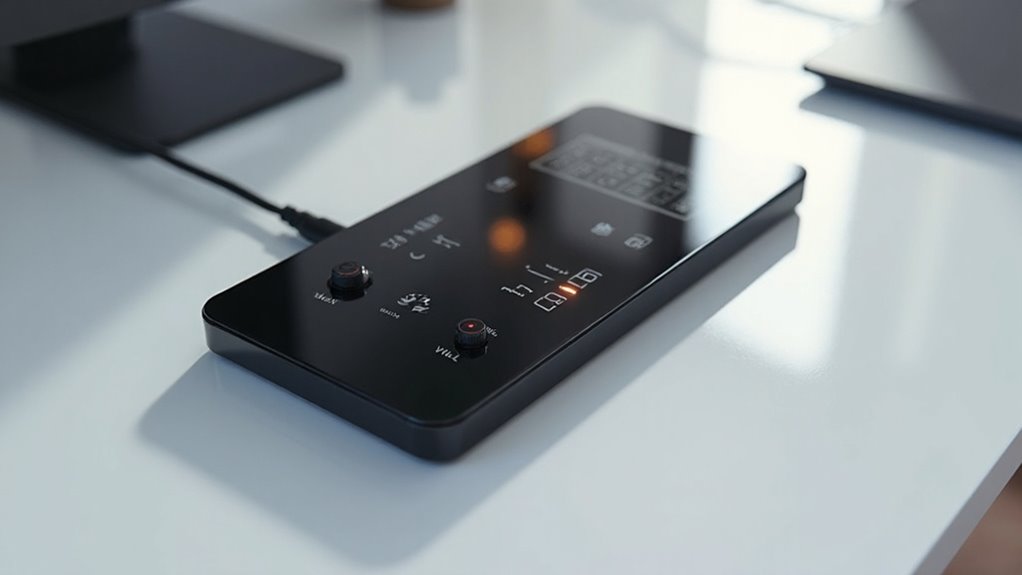
【2-In-1 Integrated Professional System】 Combines a high-performance 30,000 RPM nail drill and a powerful integrated dust extraction system into one sleek, compact unit. Perfect for professional nail technicians seeking a clean, dust-free workspace during heavy filing and shaping.


Setting Up the Hand Piece and Stand
After getting familiar with the contents of your MelodySusie nail drill package, it’s time to move forward with preparing the equipment for use by setting up the hand piece and stand. First, guarantee a Secure Attachment by connecting the hand piece to the main drill unit, making sure it’s firmly in place, as its lightweight design aids in easy handling, and verify the connection to avoid operational issues.
Next, focus on Stand Stability by sliding the stand onto the main drill, creating a reliable storage solution, keeping your workspace tidy, and allowing quick access to the hand piece. Consult the user manual for precise instructions on installation, confirming correct positioning, and ensuring best performance during setup.
Furthermore, many MelodySusie models feature an ergonomic design to promote comfortable handling and reduce fatigue during manicure sessions.
Recommended Products
4-IN-1 WORKBENCH: Multipurpose work table, scaffold, dolly, and creeper with a jigsaw blade set offers unlimited project potential for professional contractors as well as home users

Nail-Free Installation for All Beds- Oneya Baby’s toddler bed rails for queen bed feature an innovative nail-free design with a golden-triangle integrated support structure, preventing bed frame damage and ensuring easy setup. Crafted from thickened, hardened carbon steel tubes, the bed rails for toddlers outshine ordinary iron rails in strength and safety. This robust build keeps the bed stable, withstands strong pushes, and offers unwavering protection. So you can sleep soundly, too.

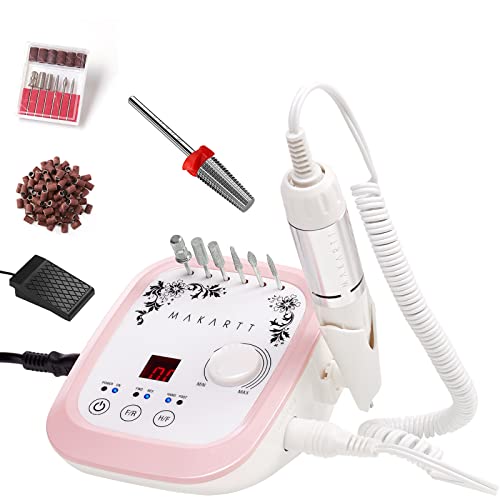
【Professional Brushless Nail Drill Machine for Longer use & Better experience】 Equipped with an updated high-quality bearing brushless motor, enables this electric nail file works smoothly even at a high speed (0-35000 RPM) by rotating the speed control knob. Ultra-smooth operation with lower heat and Quiet & Vibration Free. The professional nail drill with a unique safety protection system to avoid the motor excessive temperature rise. High precision with 0.015mm coaxiality max. can be used more than 15,000 hours.
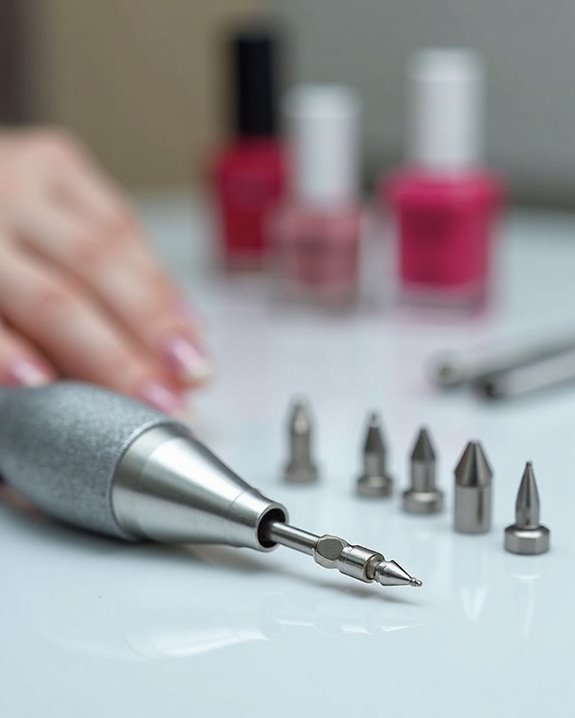
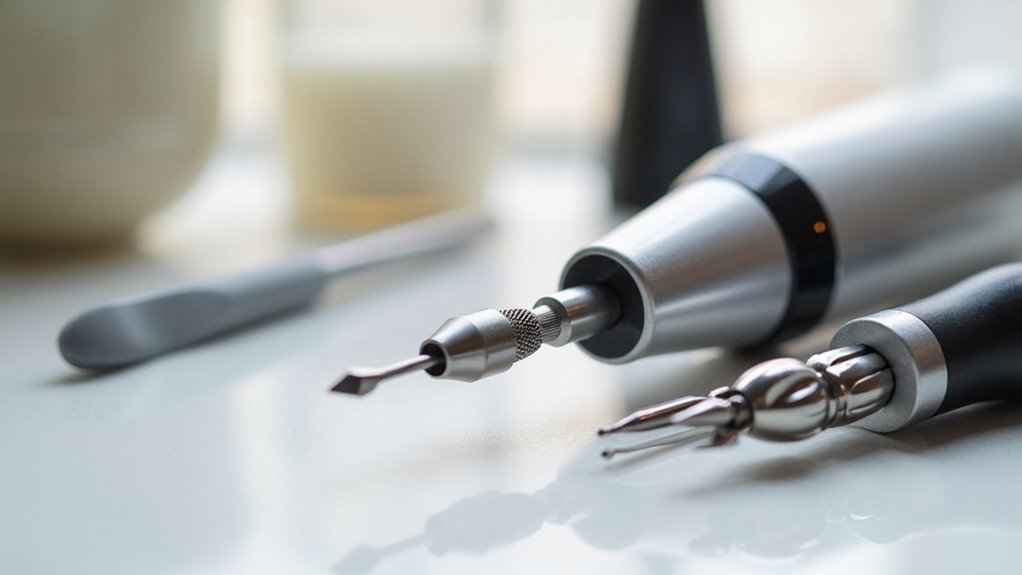
Choosing the Right Drill Bit
The critical step of choosing the right drill bit for your MelodySusie nail drill can greatly impact the quality of your nail care routine, ensuring both safety and effectiveness in your work. Among the bit types, you’ll find fine, medium, and coarse sanding bands in the kit, each suited for specific tasks, like fine for gentle smoothing of natural nails, or coarse for aggressive shaping. You must use the mandrel bit, an essential component, to securely hold these bands during operation, as outlined in the user manual.
When exploring options, consider brand alternatives if needed, but prioritize MelodySusie’s tailored bits for compatibility. Refer to the manual for guidance on matching bits to tasks, ensuring precise, safe results every time. For optimal performance, opt for bits made from tungsten carbide to enhance durability and heat resistance during your manicure sessions.
Recommended Products

Kiara Sky's Drill Bit Family in Black! Now you can purchase 17 of Kiara Sky's Beyond Pro Drill Bits together and achieve the ultimate nail kit.
Makartt brand always forcus on nail art products, including nail drill machines and nail bits. Made of carbide, the hardest material next to diamonds, Makartt drill bits have perfect performance on nail design work. package in a little gift bag, portable and best choice for as a gift for your girl firend, sister, momther.

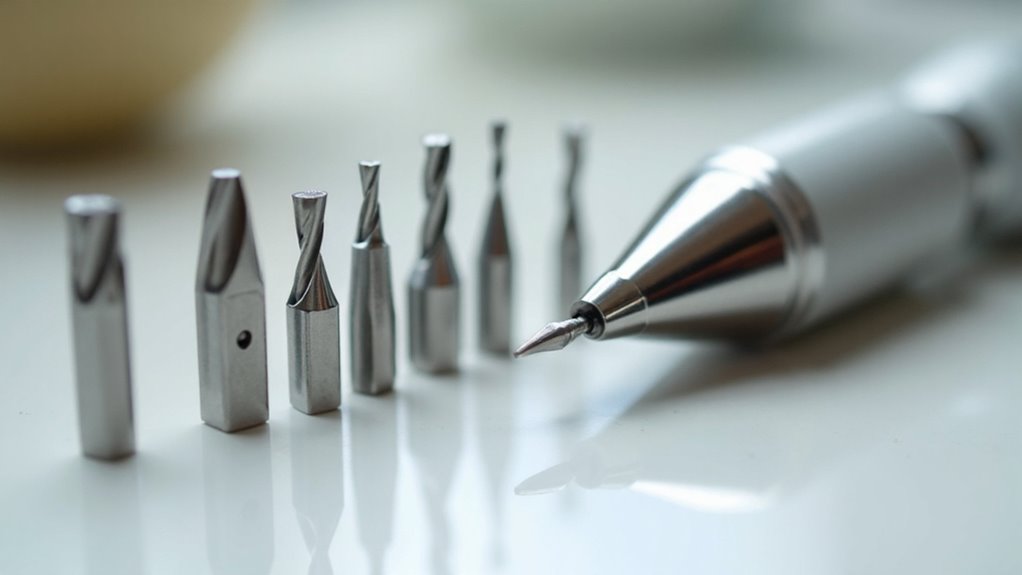
【The "Russian Manicure" Standard - Precision】 Sculpt, Don't Just Grind.Forget cheap bits that tear skin. This ”tungsten carbide nail drill bits set“ features the holy grail of Russian Manicure: the precision Flame and cuticle ball bit. The fine cross-cut teeth gently lift the eponychium and exfoliate dead skin without heating up, giving your clients that photoshop-finish "clean girl" look. Ideal for cuticle clean and prep work.
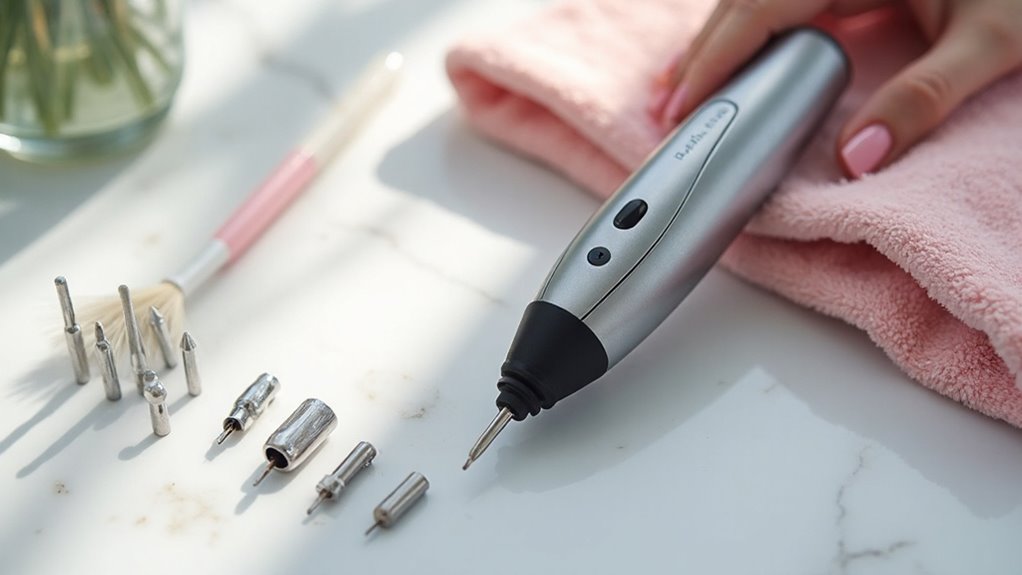
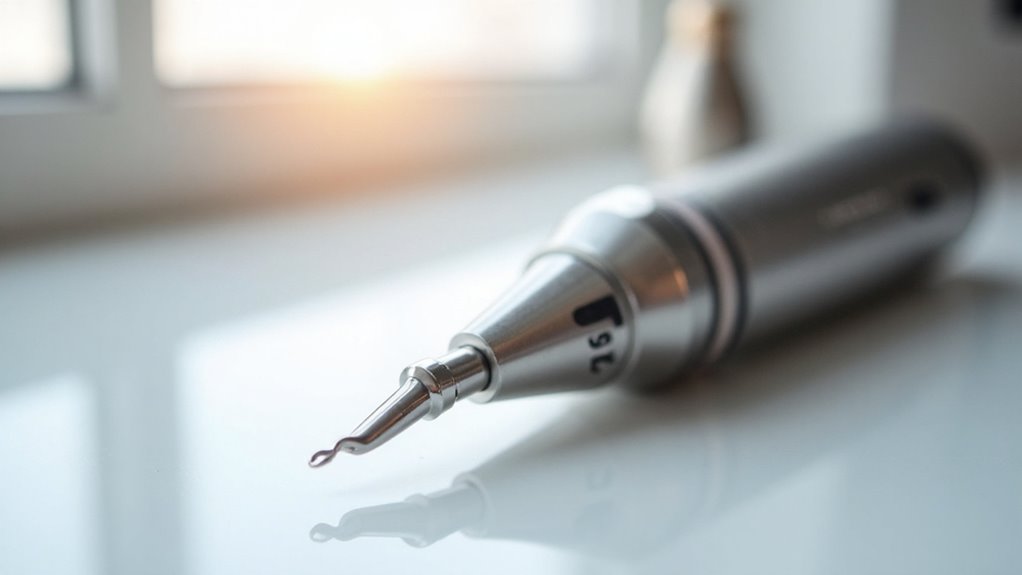
Installing and Securing the Bit
Before you begin using your MelodySusie nail drill, it’s crucial to master the process of installing and securing the bit, a fundamental step that guarantees both safety and precision during operation. Start by sliding the desired bit, like a mandrel bit, into the drill’s chuck, guaranteeing proper bit alignment by pushing it until fully seated. Then, twist the bit to the right to lock it firmly, confirming stability for effective use.
Next, perform a tugging verification by gently pulling on the bit to guarantee it’s secure, preventing potential mishaps during operation. With the drill’s user-friendly design, quick bit changes are simple, whether you’re using fine, medium, or coarse sanding bands. Always double-check the bit’s placement before proceeding with your task.
Recommended Products

DCD985 20V MAX hammerdrill with patented 3-speed, all-metal transmission and 1/2" all metal ratcheting chuck delivers 535 units watts out of maximum performance, faster application speed, and superior bit retention
Includes: 1/2" (5/8" Bar Stock), 1/4" (3/8" Bar Stock), 3/8" (1/2" Bar Stock) Bowl Gouges; 1/4", 3/8", 1/2" Spindle Gouges; 1", 1 1/2", 3/4", 1/2" Round Nose Scrapers; 3/4" Square Nose Scraper; 3/4" Diamond Parting Tool; 3/4" Oval and 1" Skew Chisels; 1", 2" Spindle Roughing Gouge
Makita-built variable speed motor delivers 0-1,200 RPM and 0-4,000 BPM
Understanding the Control Panel
Several key features define the MelodySusie nail drill’s control panel, making it a user-friendly interface that you’ll find essential for achieving precise nail care results. The Panel Layout is straightforward, with clearly marked controls like the on/off switch, which lets you start or stop the device effortlessly, and a design that prioritizes accessibility, reducing hand fatigue during extended use.
You’ll also notice the Intuitive Buttons, crafted for simplicity, ensuring that even beginners can operate the drill safely, while the lightweight structure supports comfort for both professional and at-home sessions. Every element, from the strategic placement to the easy-to-press buttons, minimizes any learning curve, allowing you to focus on your nail care tasks with confidence and precision.
Adjusting Speed and Rotation Settings
Explore into mastering the MelodySusie nail drill by starting with the critical task of adjusting speed and rotation settings, a process that’s central to customizing your nail care experience. Speed impacts how effectively you shape and file nails, so use the RPM control feature, which ranges from low to a maximum of 30,000 RPM, and toggle the on/off switch for precise adjustments during use.
Next, consider rotation strategies by switching between forward and reverse options on the drill, allowing you to adapt to various filing techniques based on your needs. Make sure the drill is powered on before making changes, as this secures safe modifications to performance. These settings, when adjusted properly, offer control and versatility for ideal nail care results.
Recommended Products
POWERFUL: 9.4 Amp (900 Watt) motor produces an amazing 740 ft-lbs of tightening torque to tackle the toughest jobs with ease
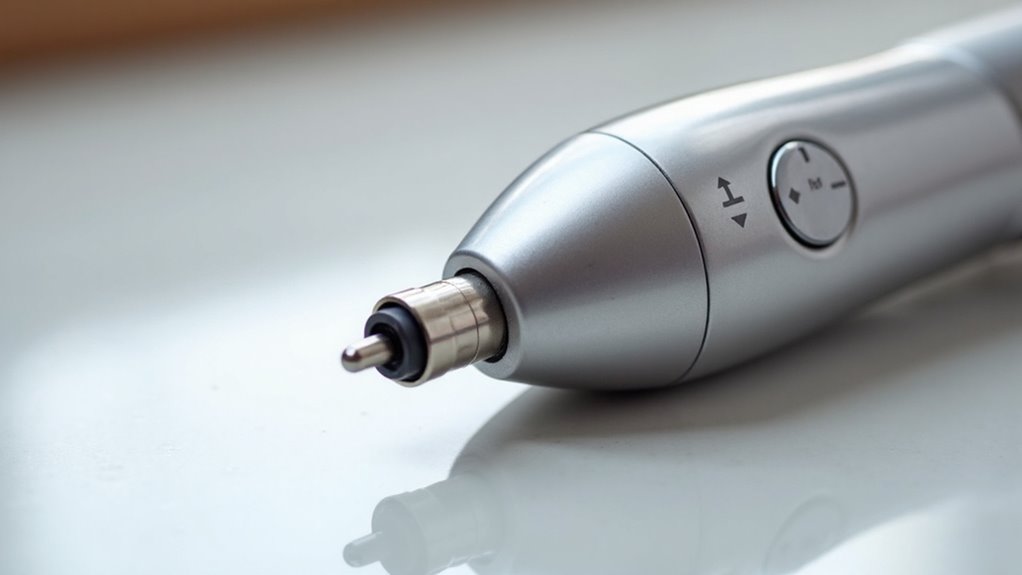
![[Upower] G3 Professional Nail Drill Machine, 20000 RPM Electric File for Nails, Rechargeable Portable Nail Machine, Low Noise & Low Vibration (Made in Japan) Produced by URAWA Corp. [Black]](https://m.media-amazon.com/images/I/41qeo5s3CGL._SL500_.jpg)
G3 for Professional is made in Japan and extremely portable and rechargeable Nail Machine (E-File, Nail Drill).

Makita-built variable speed motor delivers 0-1,200 RPM and 0-4,000 BPM
Starting With Low Speeds for Safety
Countless nail care enthusiasts find safety paramount when first using the MelodySusie nail drill, so it’s critical to start at low RPM settings, ideally well below the maximum capacity of 30,000 RPM, to reduce the risk of accidents or damage to your nails during operation. Speed Safety is key, especially for beginners, as initiating with slower speeds using the RPM control allows better handling, minimizes errors, and guarantees smoother performance.
For effective Risk Mitigation, keep speeds low to gain control and precision, particularly when installing bits like the mandrel, while the drill’s lightweight design reduces hand fatigue, enhancing safety. Gradually adjust speeds after familiarizing yourself with rotation options, guaranteeing a secure process, and maintaining steady operation with every use.
Practicing on Natural Nails
After mastering the basics of speed control for safety, you’re ready to begin practicing on natural nails with the MelodySusie nail drill, a step that builds your confidence and skill. Start by selecting a fine sanding band from the included bits, ensuring it’s gentle enough to shape and smooth the nail surface without harming nail health. Install it by twisting left to remove any existing bit, sliding the new one in, and twisting right to secure it tightly.
Set the drill to a slow speed, as lower RPMs offer control and precision, and hold the lightweight hand piece steadily to avoid fatigue. Focus on even shaping, protect nail health, prioritize cuticle care, and observe the smooth, no-vibration results.
Maintenance Tips for Longevity
While owning a MelodySusie nail drill offers incredible convenience for nail care, maintaining its performance requires consistent attention to proper care and handling. You’ll need to follow the user manual’s guidelines, which detail usage and installation steps, to guarantee the device’s longevity through regular upkeep. For Charging Maintenance, charge as needed, knowing the charger supports 3-4 full charges yearly even with frequent use, thereby preserving battery life with mindful care.
Regarding Storage Techniques, always place the hand piece on its provided stand when idle, protecting its lightweight design from damage, and reducing wear over time. Additionally, handle drill bits with precision, twisting left to remove and right to secure, ensuring components stay intact, and supporting durability with careful, consistent maintenance practices.
Troubleshooting Common Issues
How can you address common problems with your MelodySusie nail drill to keep it running smoothly? If the drill bit won’t secure, make sure you’re twisting it to the right after insertion, as outlined in the manual, to lock it properly for safe use. For charging issues, check if the device is fully charged, since the charger supports 3-4 charges yearly with frequent use, and test connections carefully.
If vibrations occur, verify it’s a MelodySusie model, designed for vibration-free operation up to 30,000 RPM, and adjust RPM to a low setting for testing. For persistent issues, like the drill not turning on, explore Repair Options or Contact Support at [email protected], guaranteeing quick resolution with expert guidance on troubleshooting.
Frequently Asked Questions
How to Use a Nail Drill for Beginners Step by Step?
Hey, imagine taming a wild beast as you learn to use a nail drill. Start with Safety Measures, ensuring you’re steady. Don’t rush; use Speed Adjustment for control. You’ll master this craft soon!
What Does F and R Mean on a Nail Drill?
Hey, wondering what F and R mean on a nail drill? They’re direction meanings: F is Forward for standard filing, and R is Reverse for unique tasks. Remember rotation safety when switching directions!
What Do the Different Colors on Nail Drill Bits Mean?
You’re diving into a rainbow of possibilities with nail drill bits! Exploring Color Origins, black means coarse, blue is medium, and white is fine. Bit Aesthetics guide your choice for flawless nail magic!
What to Use Each Nail Drill Bit For?
Hey, wondering what to use each nail drill bit for? Bit Shapes like fine, medium, and coarse have specific Usage Scenarios. You’ll use fine for natural nails, medium for acrylics, and coarse for heavy removal.